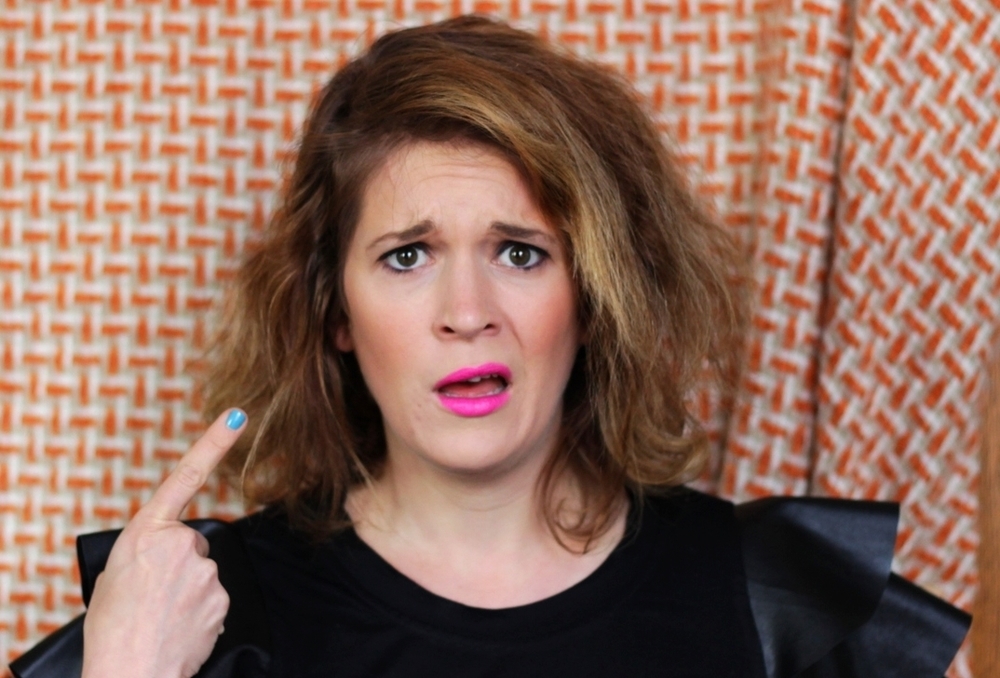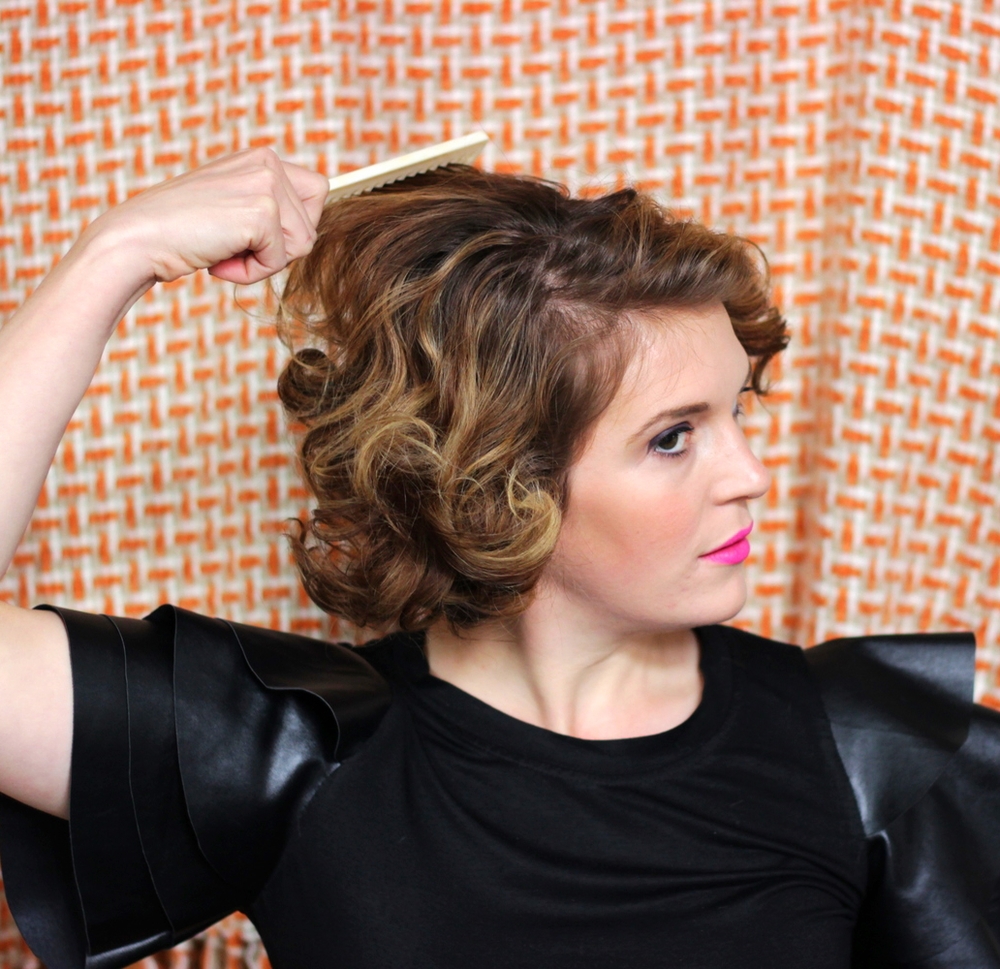
I have shoulder length hair but sometimes I like to play with my look and rock a short bob – without the commitment of a haircut. For women with wavy hair, it’s actually possible to fake it! All you need is texturizing spray and bobby pins – plus optional curling tools to combat frizz if you have it. Read on for a little lesson!
OPTIONAL STEP 0 – LOSE THE FRIZZ, ADD BODY & WAVES
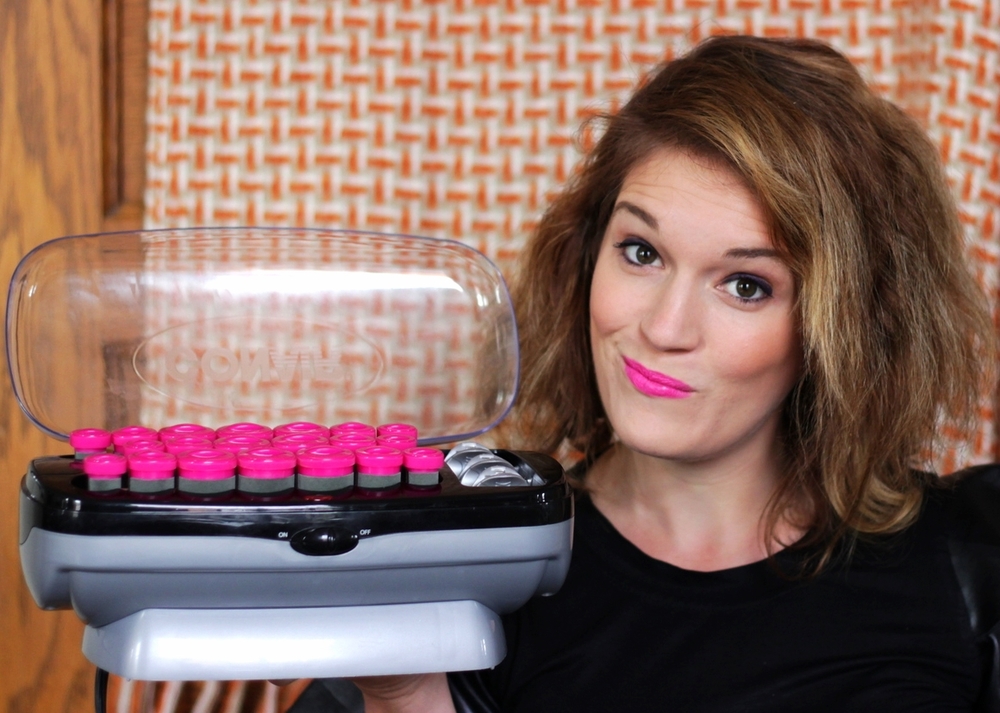
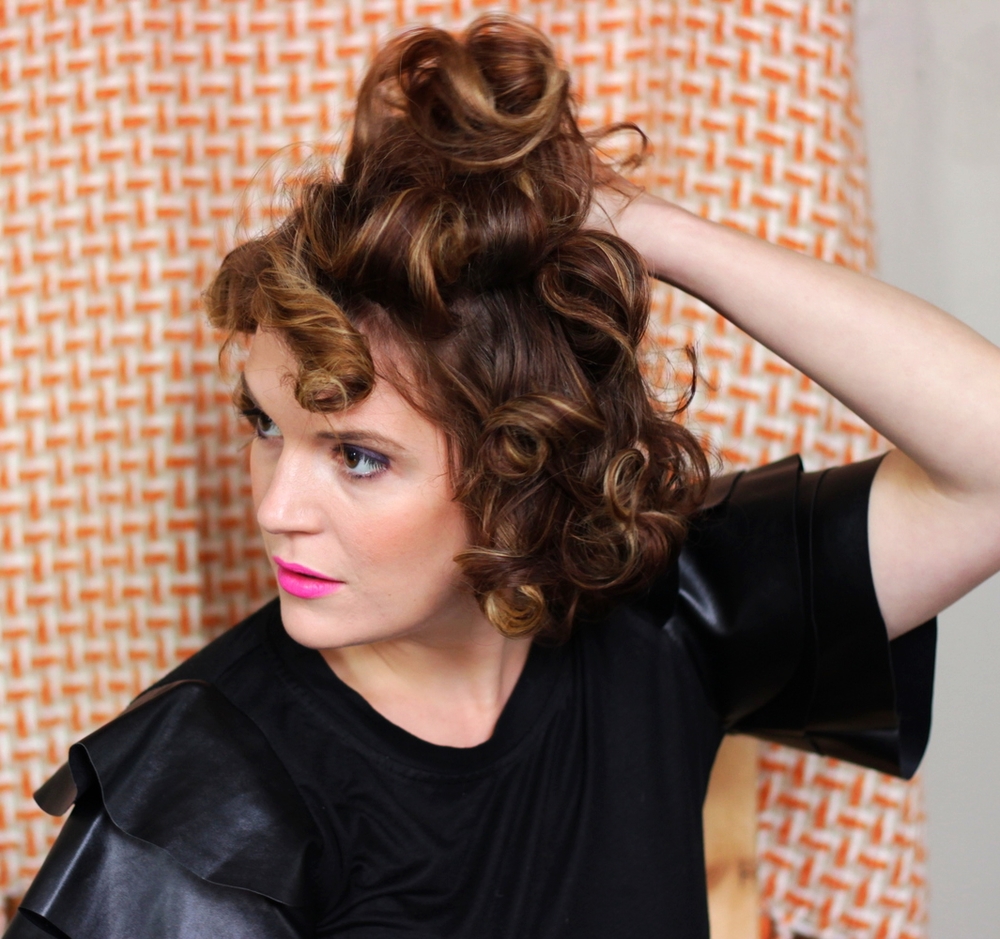
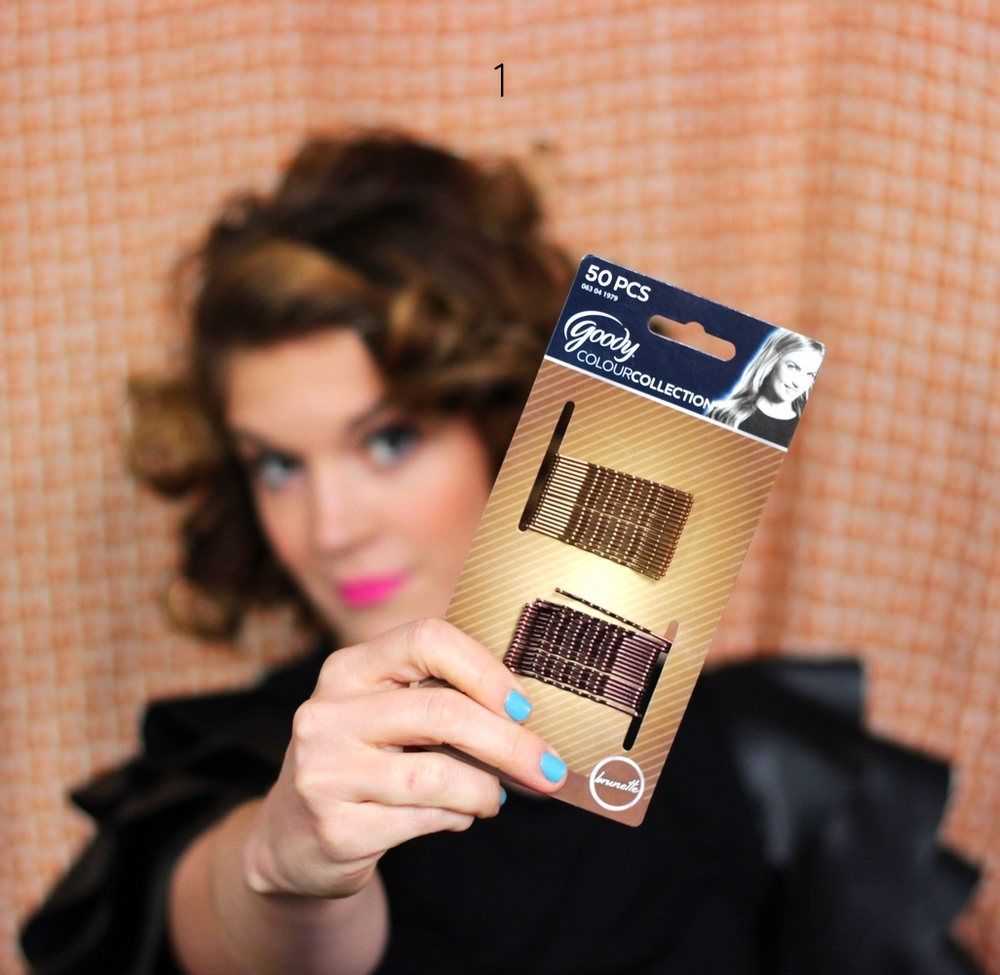
YES, I am holding a box of hot rollers like your grandma used to use. Trust me, they work to smooth out your hair and add some wave and body when it’s looking rough. And lately, mine’s been looking ROUGH with all the color I’ve been subjecting it to (I can’t help myself!).
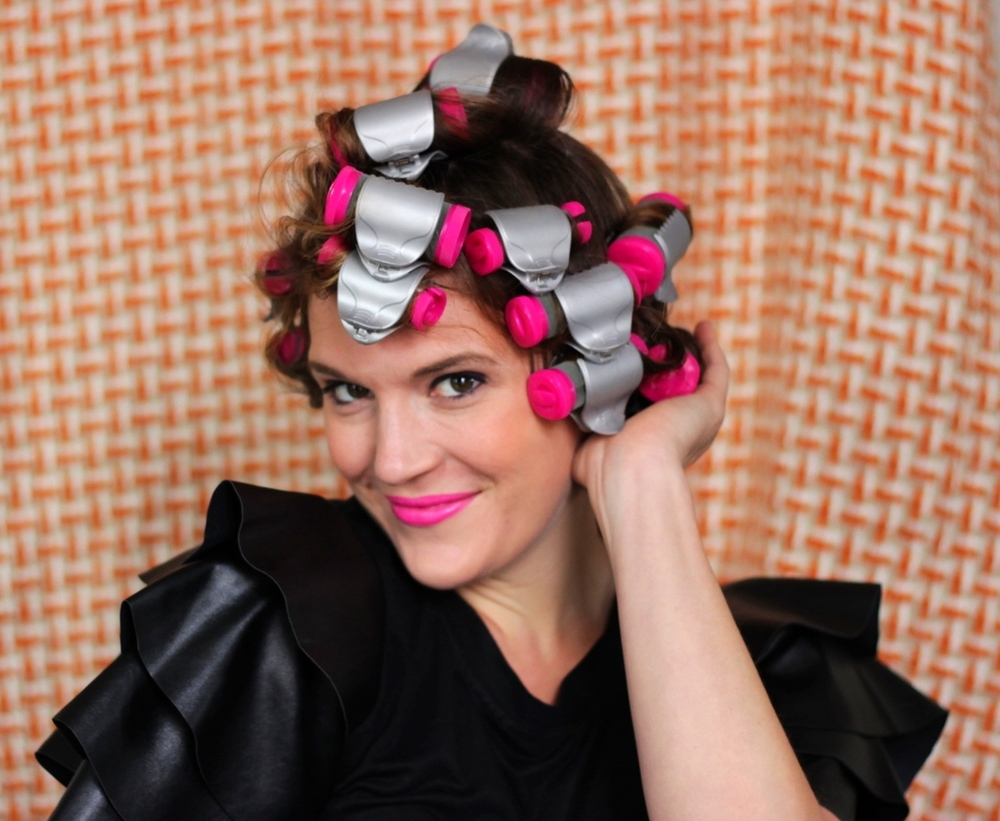
Roll the whole head and let them sit for at least 20 minutes – until the rollers and the hair are cool. A curling iron will achieve the same thing – just pin each of the curls into place while the heat releases.
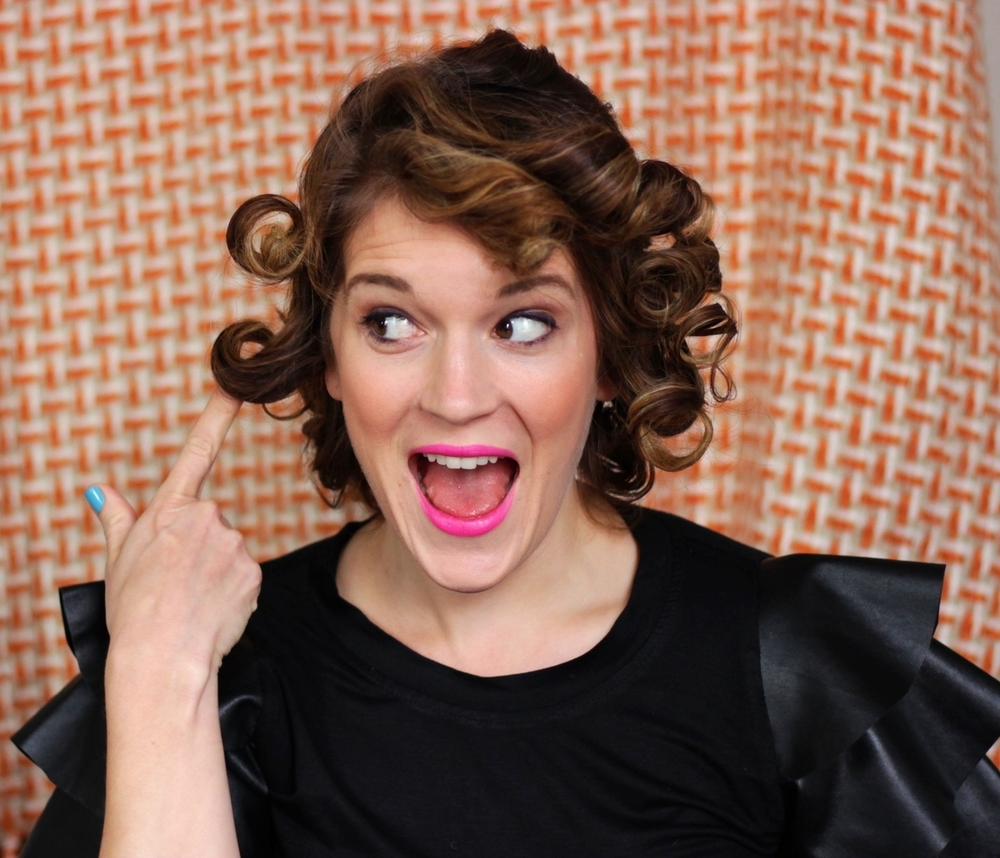
Release the curl with your fingers – When you undo the rollers or the curls from the iron, they’ll be super-tight and look pretty silly, so you’ve got to release them. Scrunch the curls and run your fingers through them to loosen up the style so it looks more real.
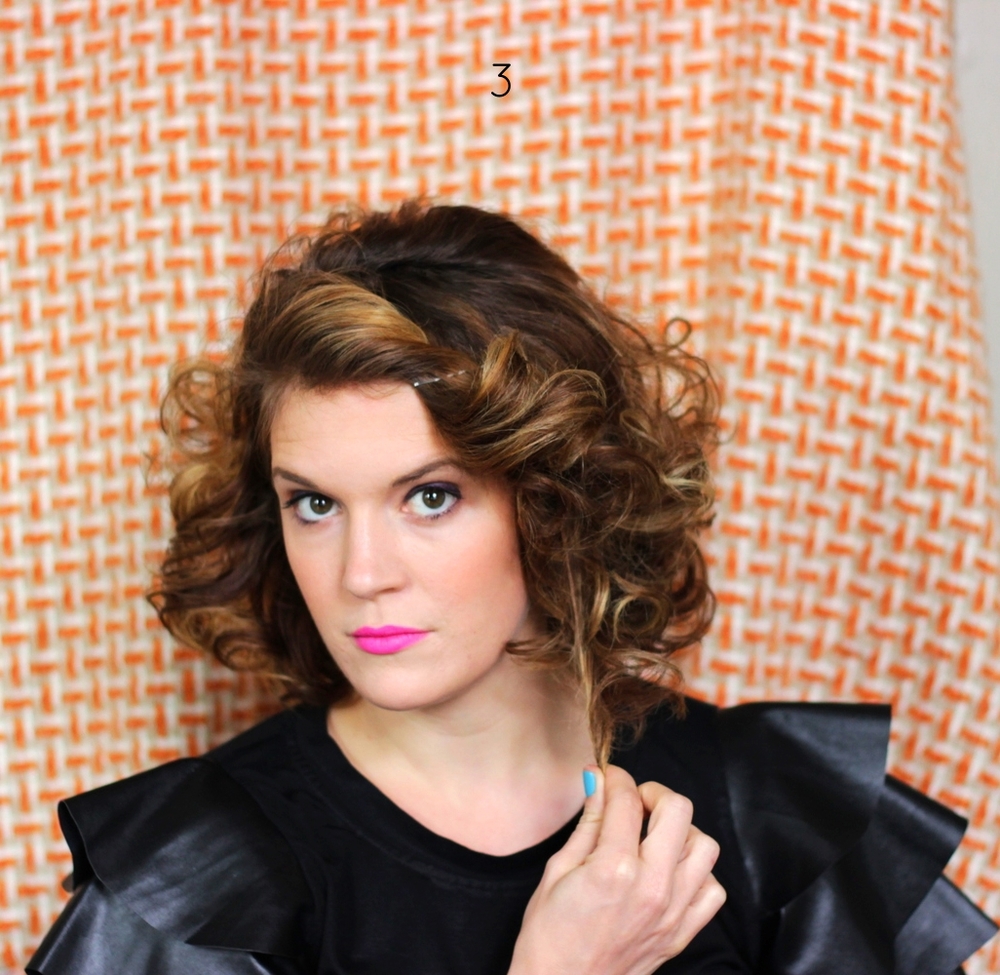
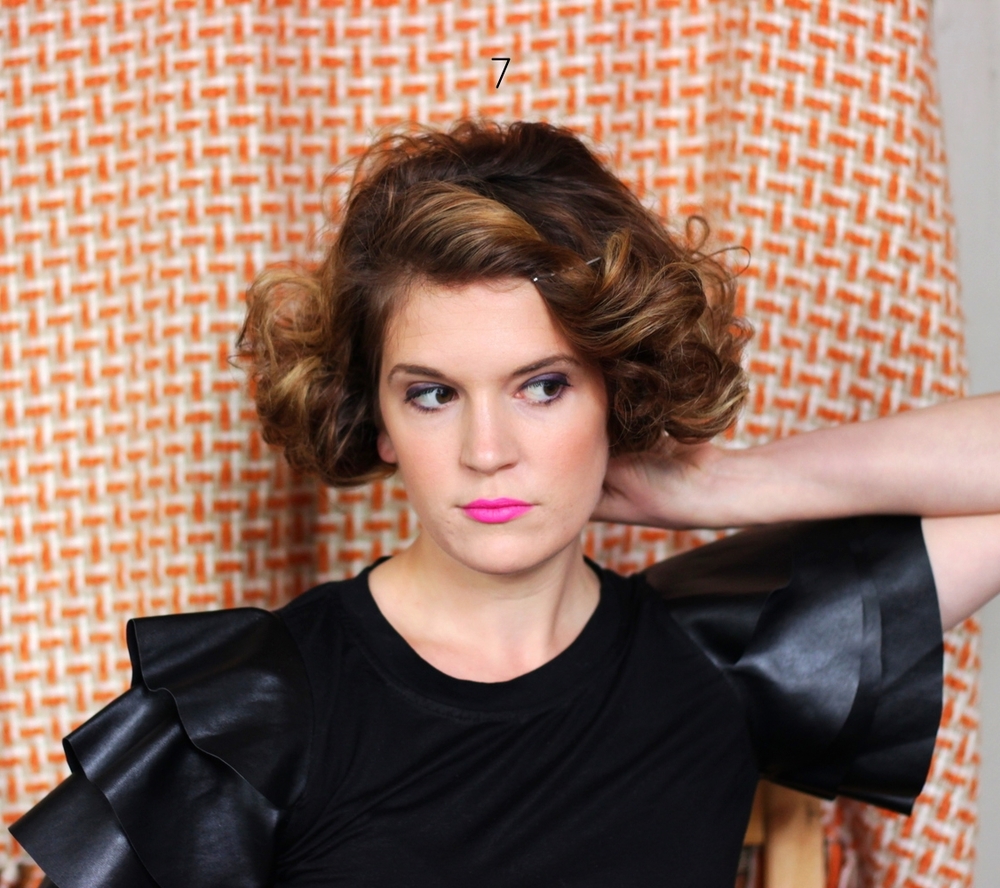
I also use this as the opportunity to pin the front pieces into place – they are the most pesky for me, so I will usually pin them to the side and hope for the best when I get to the end of the styling. If I can’t get them to do what I want, I’ll leave the pin in as part of the style.
Now you’re ready to create your bob!
STEP 1: PREP THE HAIR WITH TEXTURIZING SPRAY:
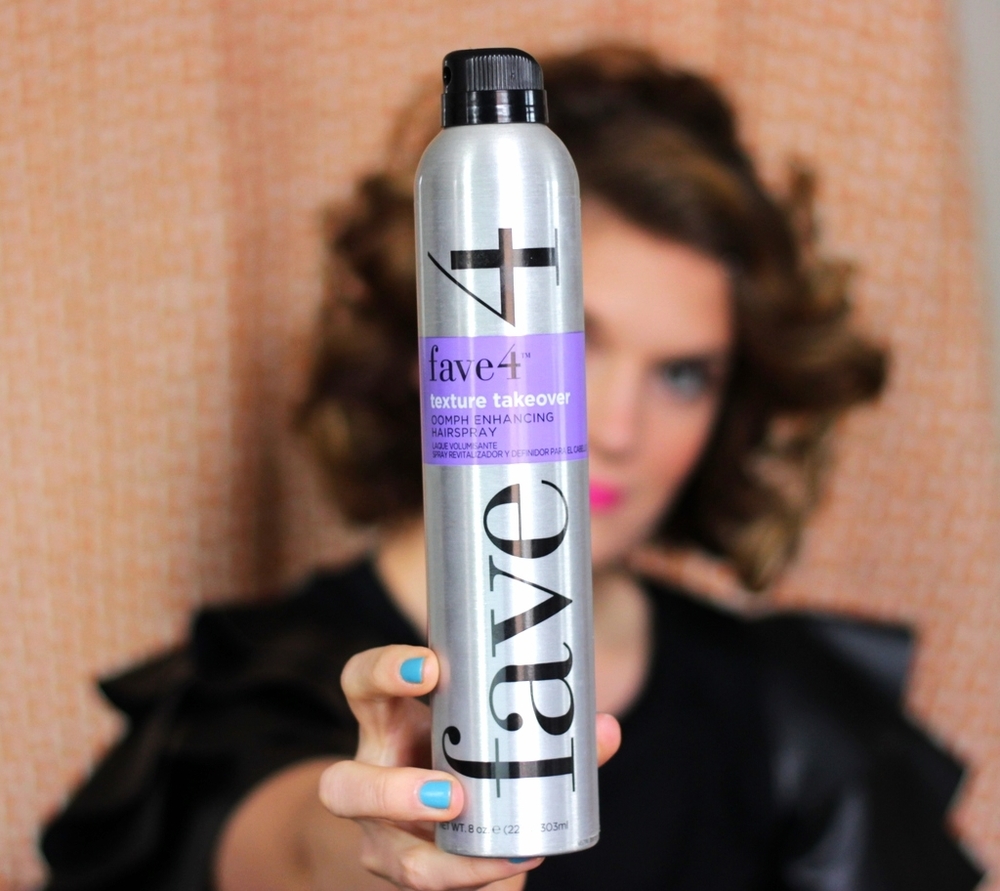
Texturizing spray is all the rage right now, and here’s why: it’s basically the perfect mix of dry shampoo (HELLO VOLUME) and hairspray (HELLO HOLD). Buy some – right now. I am obsessed with this one by Fave4 Hair, a new brand I recently discovered after meeting the VP of the company on an airplane (we traded gossip magazines and got to talking).
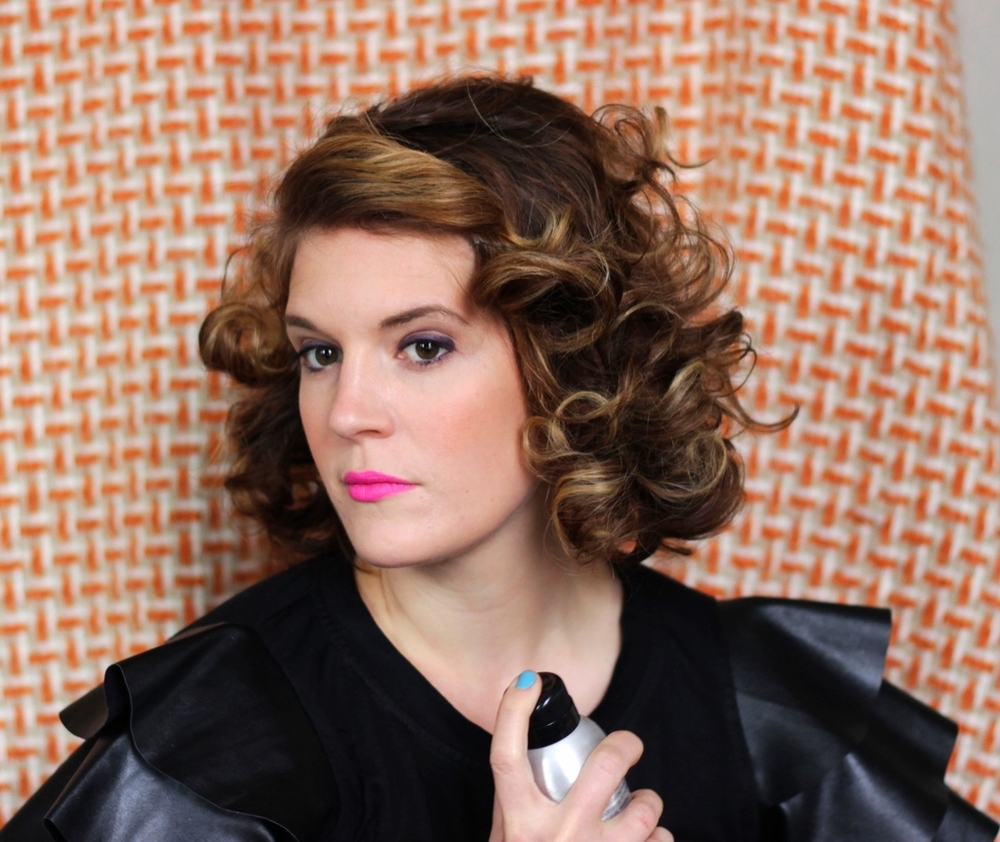
- Take your texturizing spray and use all over the head, but focus heavily on the bottom few inches – this is what you’ll be pinning up – you want it to be sticky so that the pieces will stay.
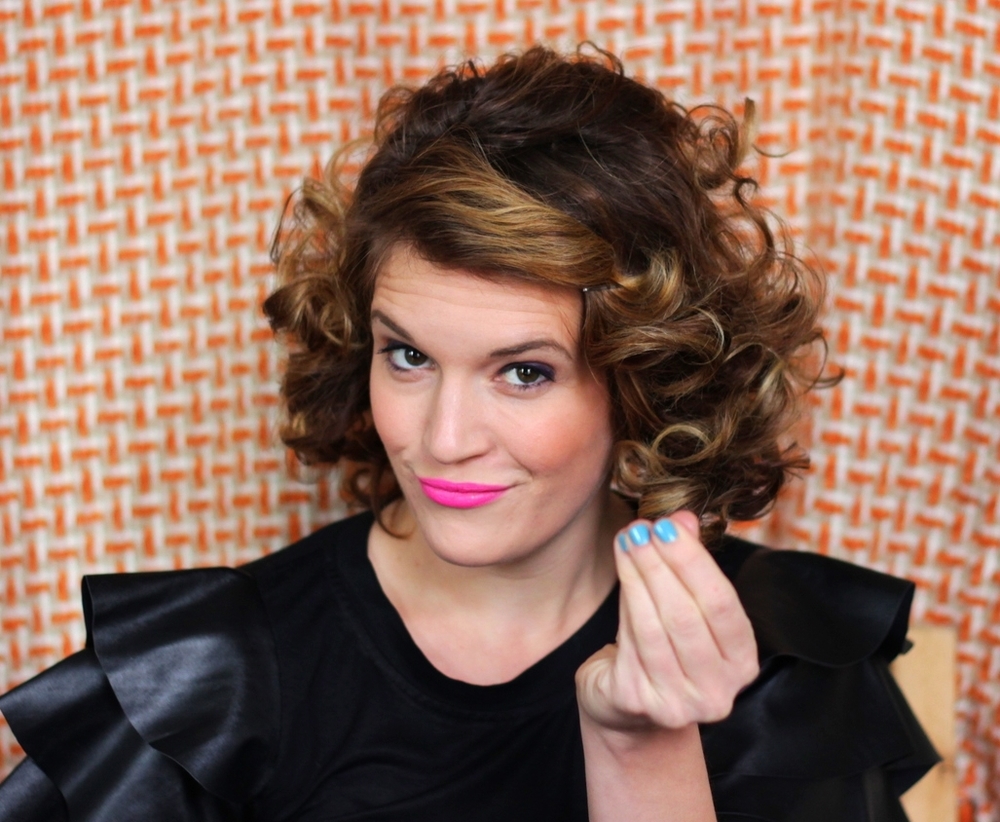
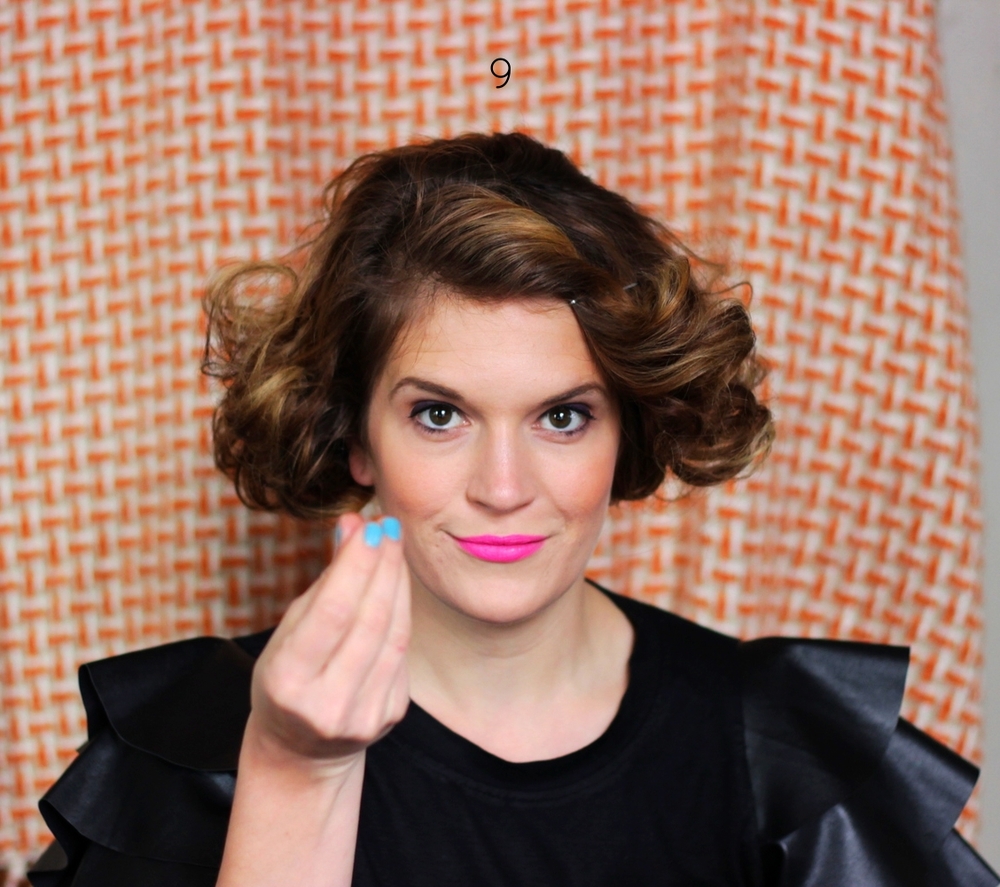
- Remember that show me the money gesture you might’ve used with your parents when you were a broke teenager? You’re going to need that now – to rub the texturizing spray into those bottom few inches of hair.
STEP 2: PIN UP EACH SIDE AND THE BACK TO YOUR DESIRED BOB LENGTH
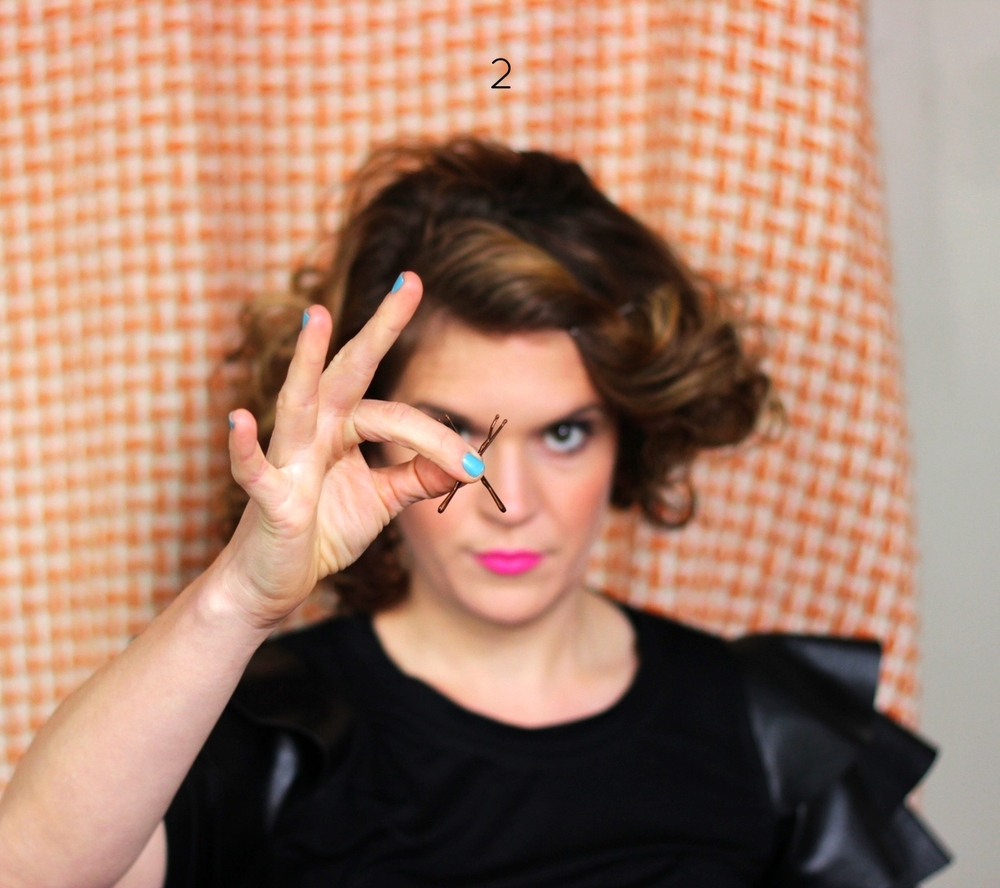
- Gather up your bobby pins.
- You’ll use 2 at a time to secure the hair in place in an X formation.
- Start on one side and pull the bottom few inches of your first piece down – see how long it really is?
- You’re going to tuck all of that under and pin it at your desired length (with 2 pins in an X formation – don’t forget!). For this bob, I chose the bottom of my ears as the base line for my bob.
- I like to hold my finger up to show the visual line of where I need to pin on the other side to match the length of the first side.
- Now you can move over to the other side and pin.
- Finally, move on to pin up the back, using your hands to feel out the right length to pin to.
- Now – the pins might show from the back, so you’ll want to kind of scrunch and pull out some pieces here and there to make it look more real.
- Remember those money fingers? Try them again here.
- If a long strand comes out of the pins, you can always re-pin it.
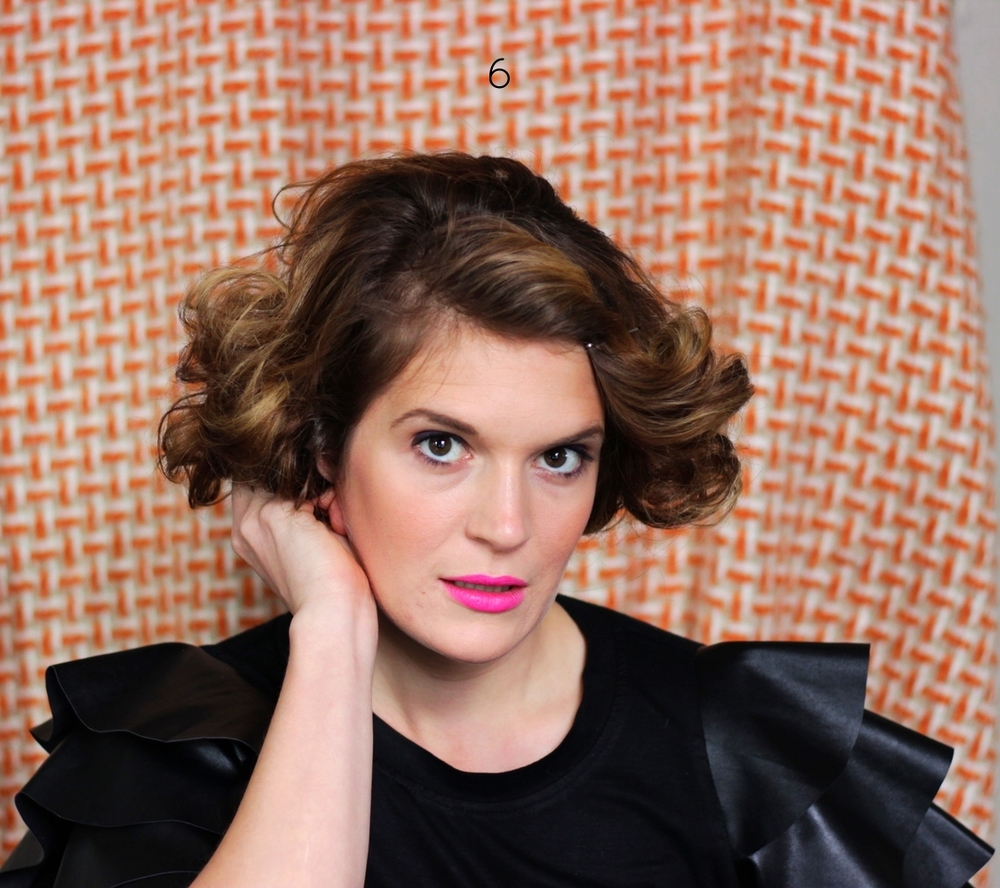
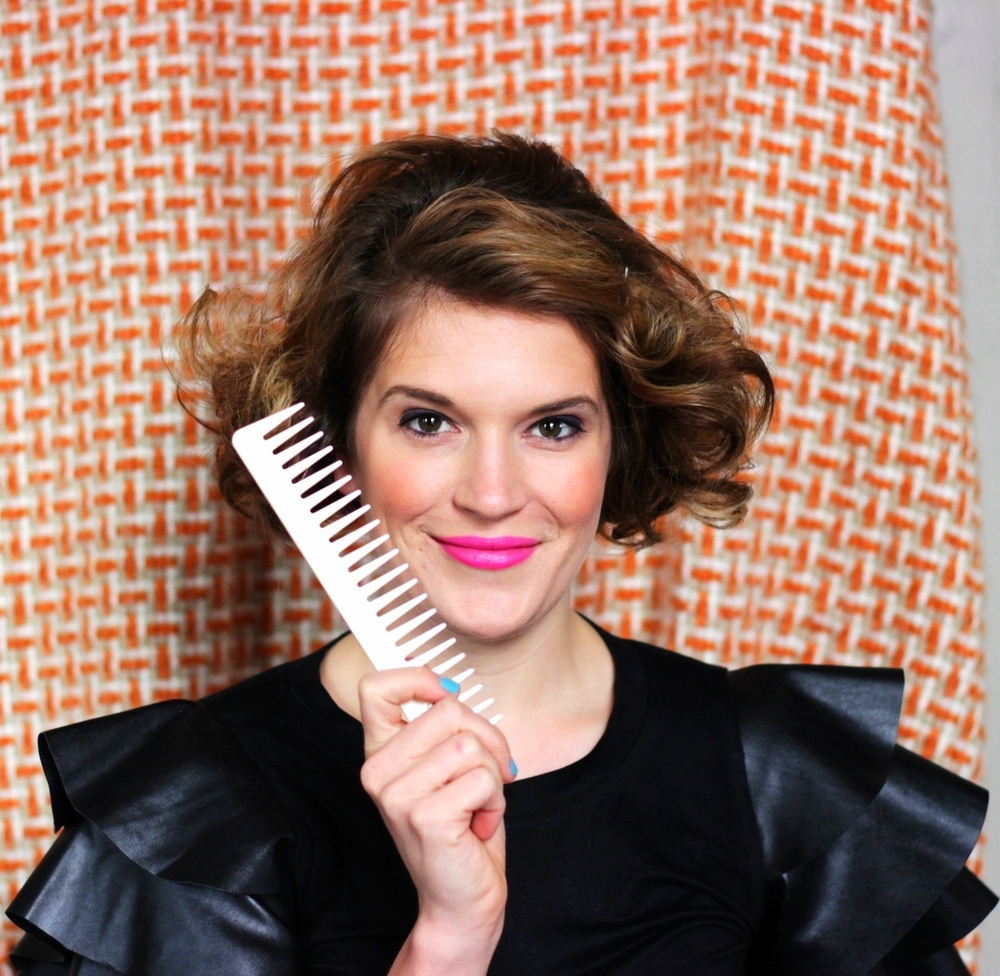
ARE YOU STILL WITH ME?! BECAUSE WE’VE GOT OURSELVES A FAUX BOB!

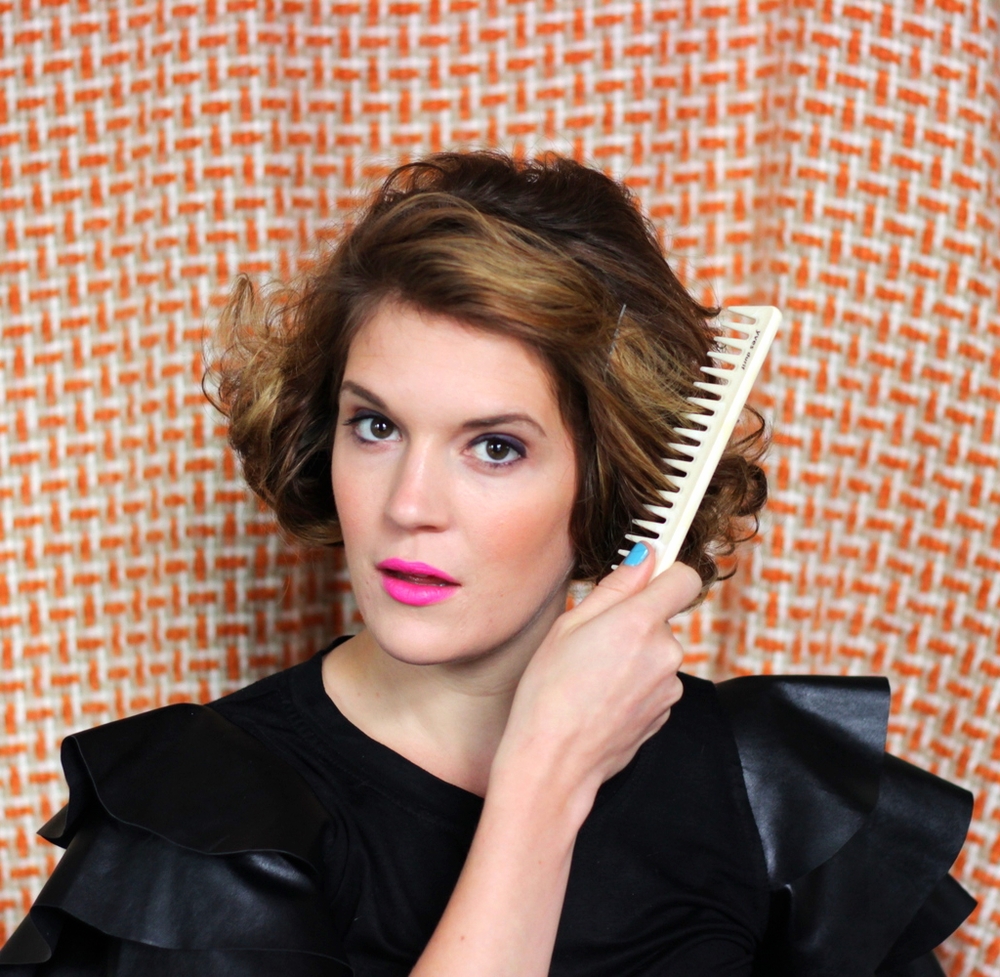
IF THAT’S TOO SHORT FOR YOU, GENTLY COMB OUT TO ADD LENGTH
If you comb out more of the curl, you can achieve a little bit of a longer and less-curly faux-bob like below.

Well, what do you think?! I’d love to hear your adventures with giving this a try!
XOXO,
Belle


