I am really freakin’ excited about today’s post! It’s been a while since I’ve done a beauty tutorial, and this one even includes a short (and very rough) video to help you learn how to create waves by using a wand. I have a favorite wand that I prefer, but you can follow these steps with any wand you have or are thinking of buying.
The inspiration for this tutorial started with an Instagram Stories series I did the other day where I walked everyone through how to get these big waves I’ve been wearing lately. What can I say? I’m in a Farah Fawcett phase. I got such a great response that I decided to write the post – and to turn the IG Stories into a little clip. If you like seeing video content from me, LET ME KNOW!! I’m thinking of creating more but only if you want it!
THE TOOLS & PRODUCTS
The T3 Whirl Wand Trio is one of the best investments I’ve ever made. It is VERY expensive: $270. This is not a sponsored post. I’m not telling you have to buy this if you want great hair. I simply love it and feel like I’ve used it enough to make the cost less than $1 per use. See the video for the cost breakdown. Update: some of you have asked me for a cheaper alternative that I’d recommend, and I would say Hot Tools makes affordable and decent quality wands and curling irons that will run you just under $50.
You’ll also need a simple blowdryer, a couple clips (love these by Dry Bar) to hold your sections, a mousse for volume and a texturizing spray (more on that later).
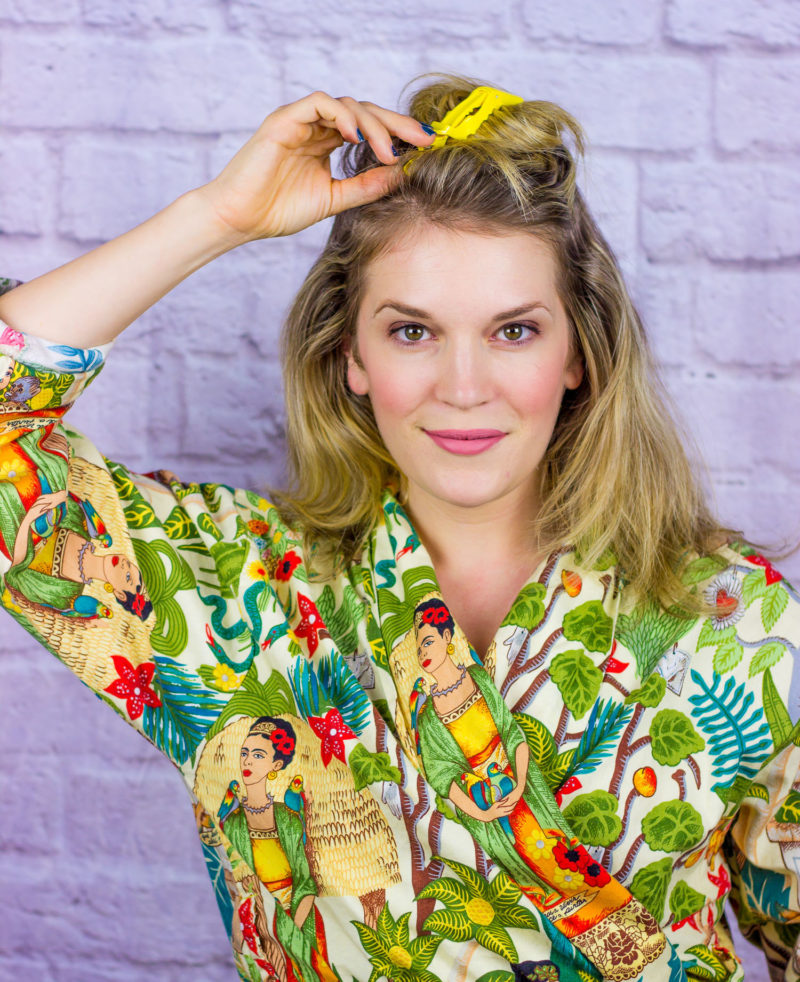
 ROUGH BLOW DRY AND SECTION
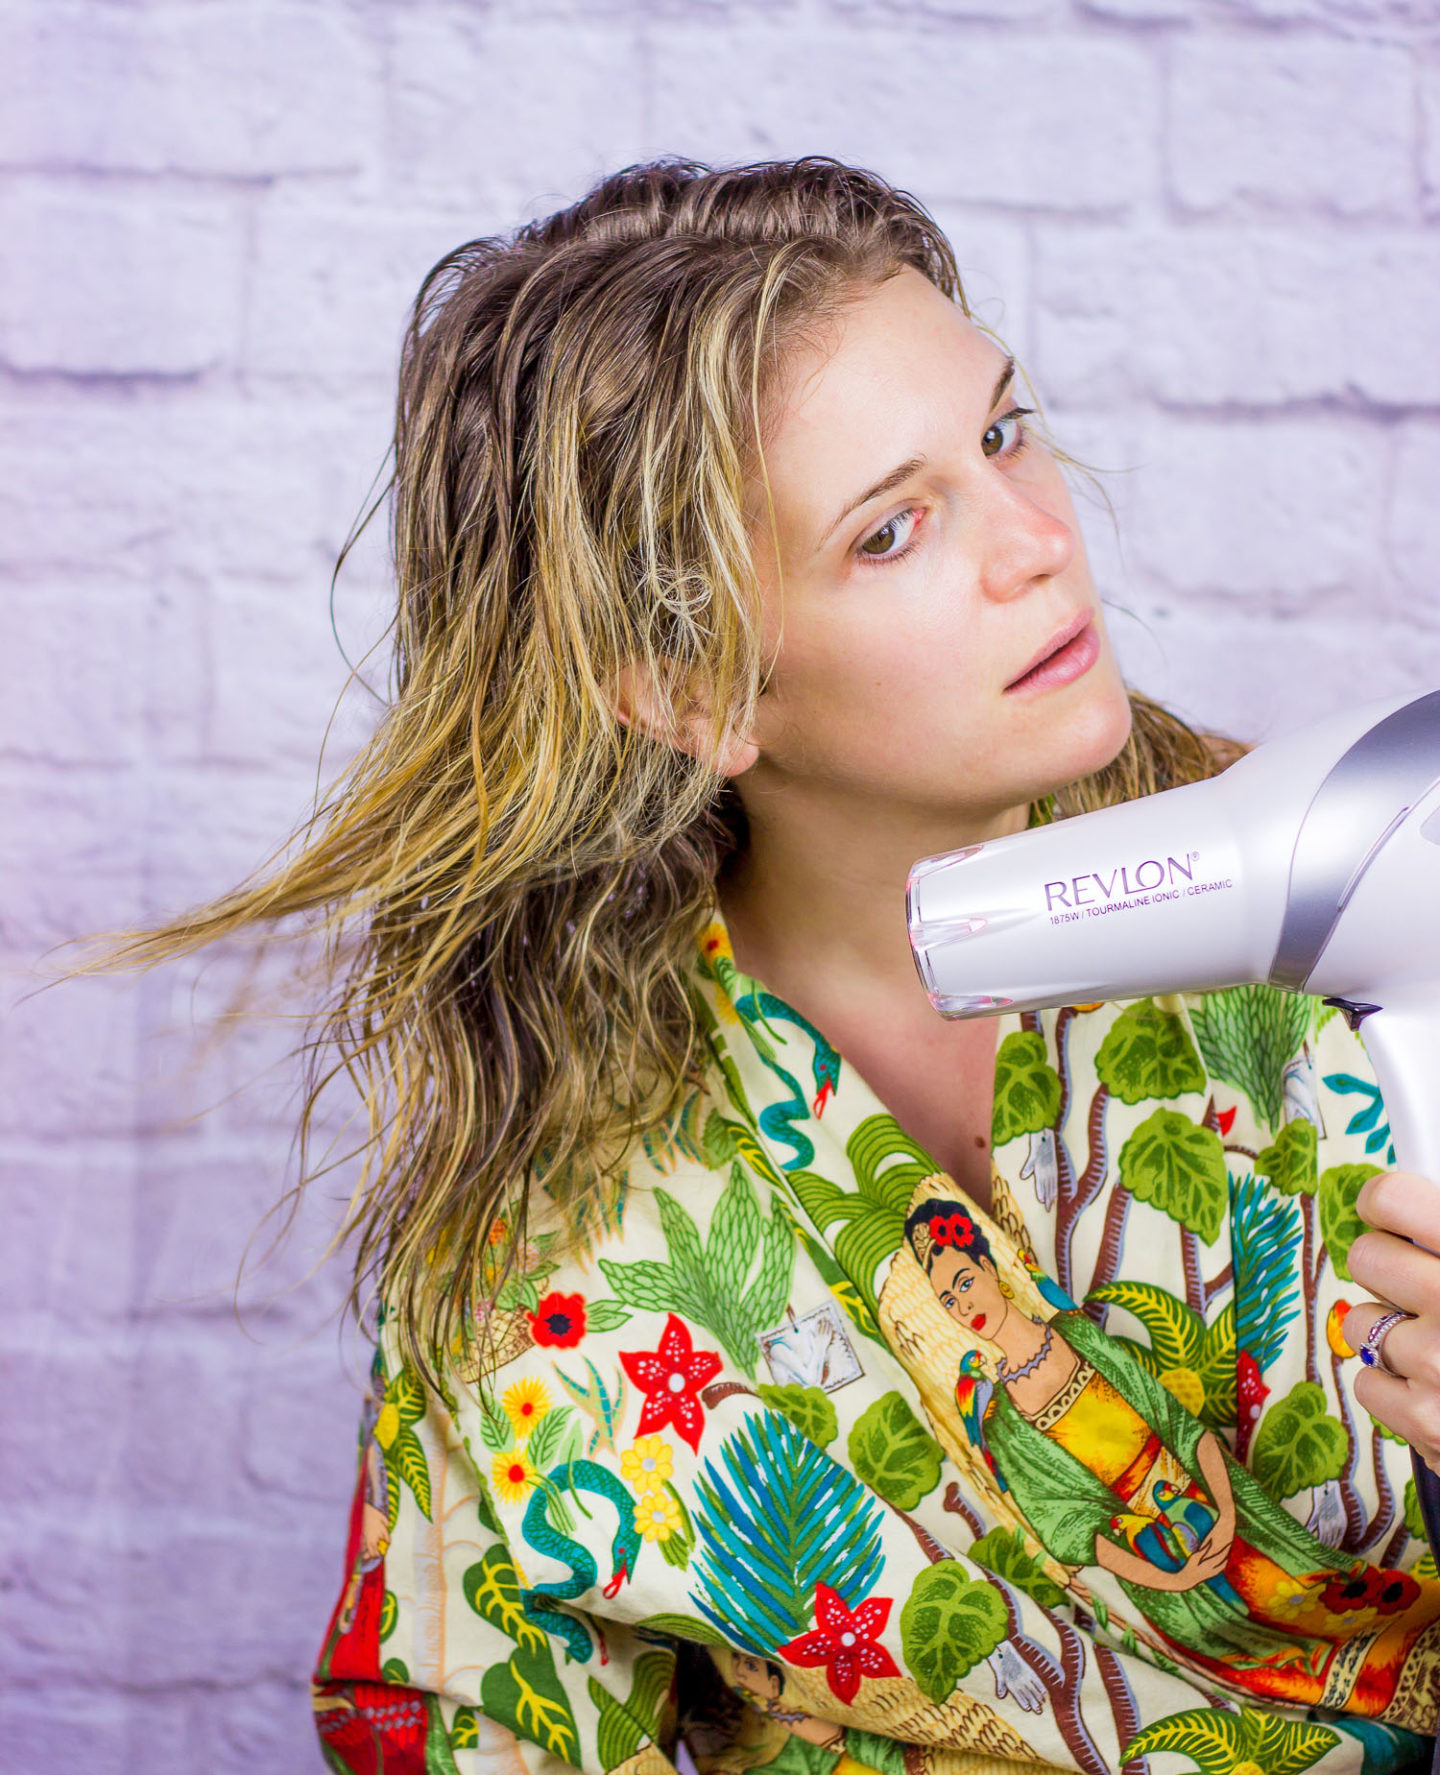
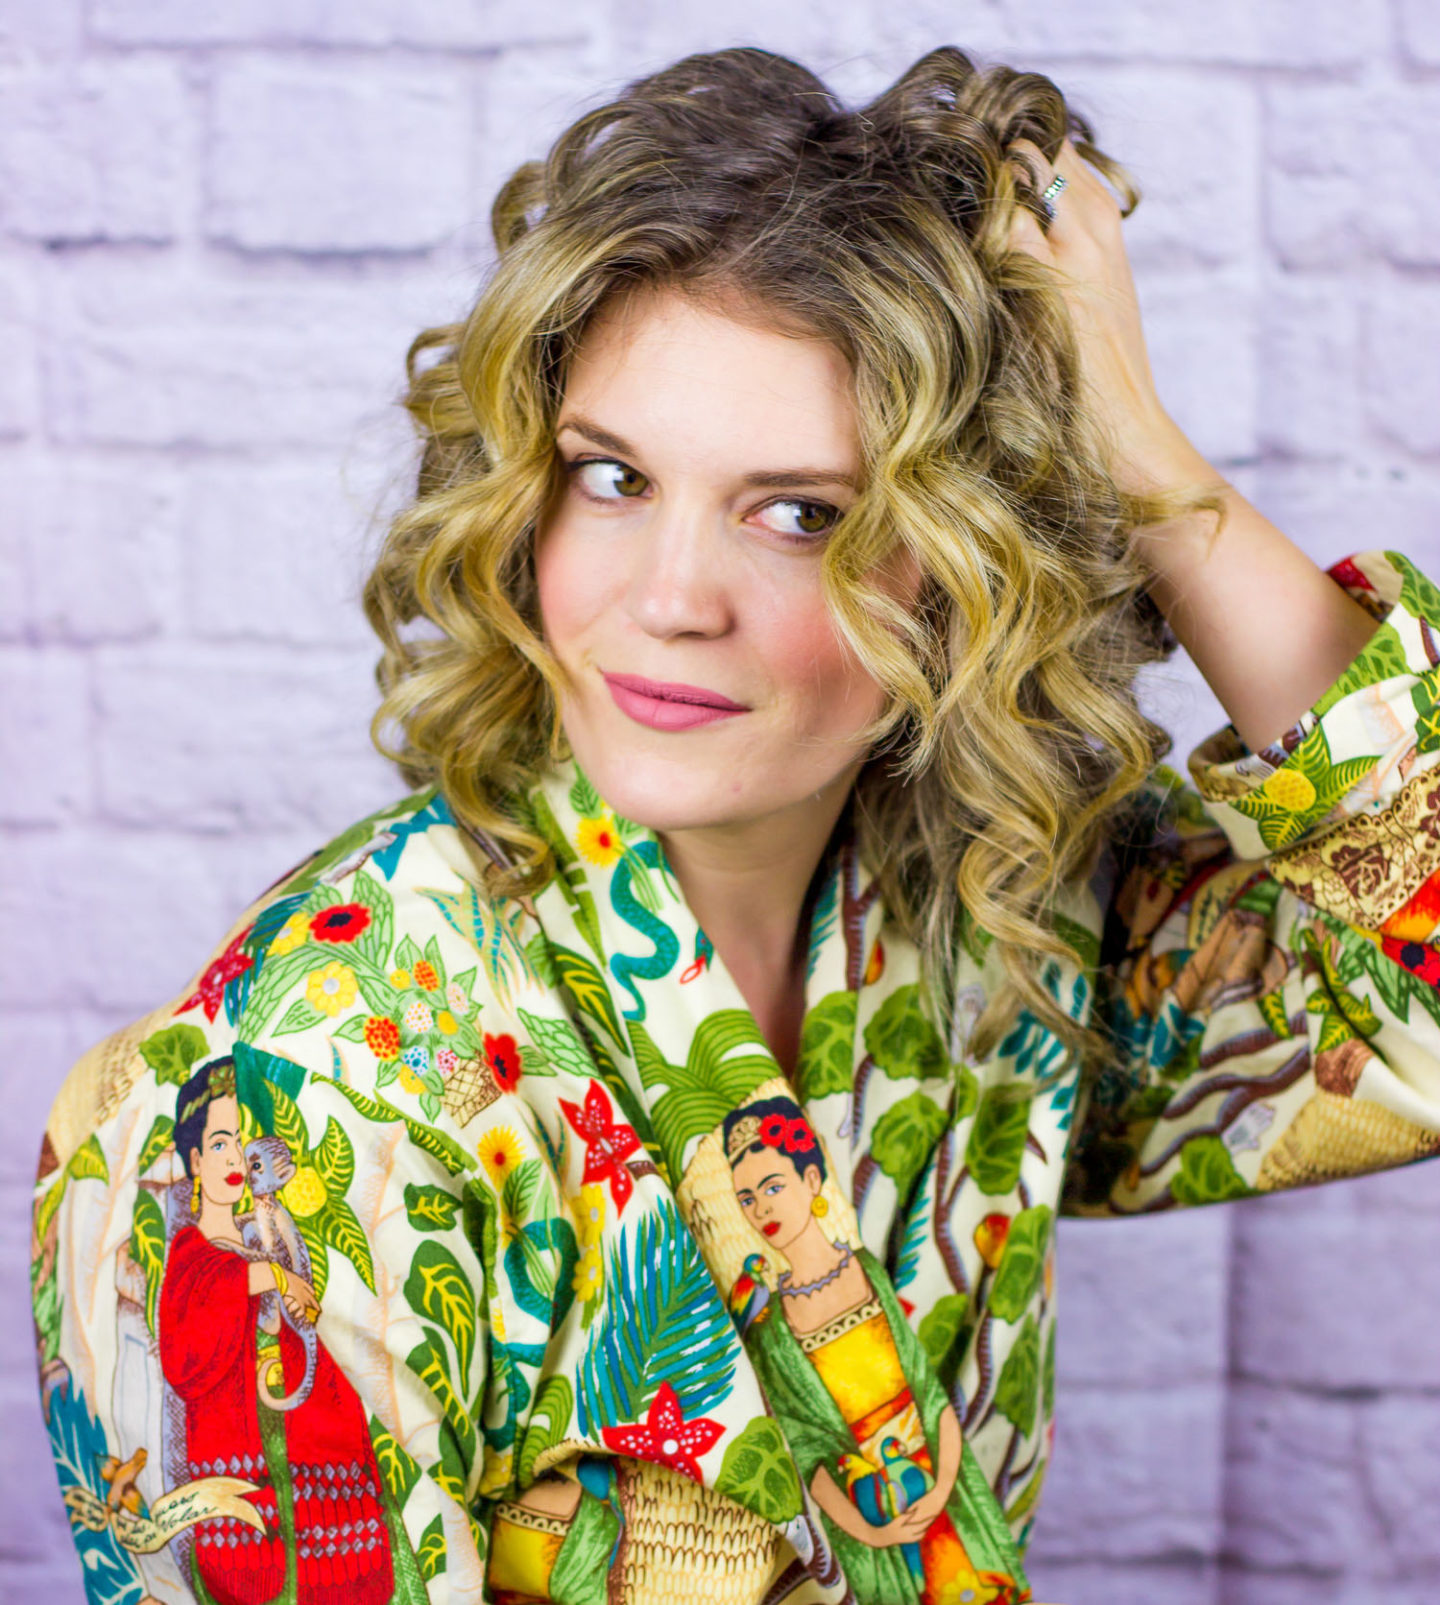
First I apply a volumizing mousse and dry my hair. As you know, I have naturally curly hair, but when I blow it out, it goes straight. The natural curl does give me the body to hold these waves in place, though. Then I section off the top and save for later.
I found this super affordable Revlon blow dryer (under $20) and it’s pretty good. It’s not professional grade but it works well and won’t break the bank. I do all my styling with tools like wands, rollers and irons, so I don’t splurge on hair dryers because they have a very simple purpose for me – just to dry. The tools do the magic.
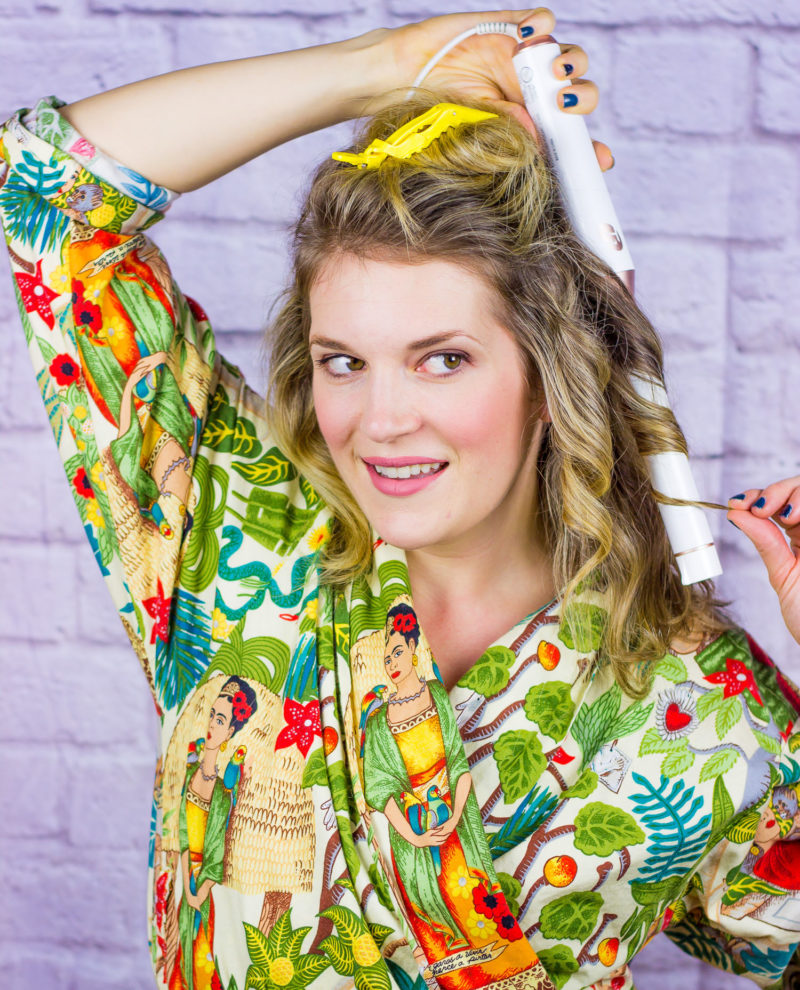
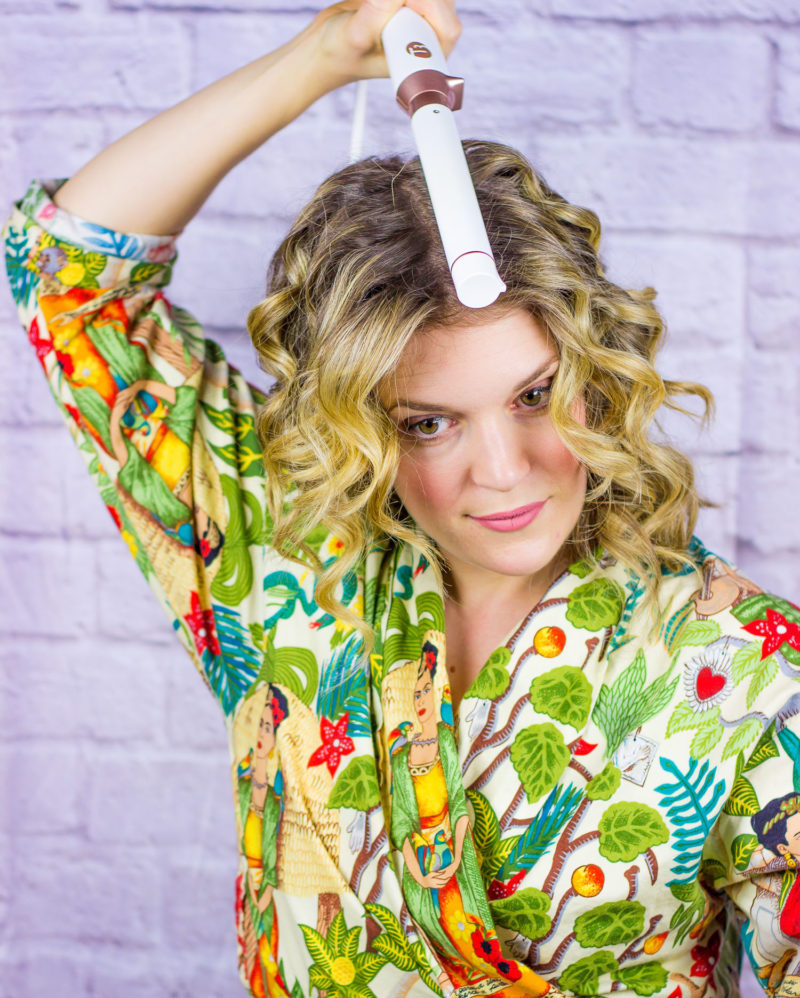
WRAP SECTIONS FACING OUTWARD
Now I take inch-wide sections and wrap them around the wand – holding it upside down – facing outward. I get halfway around the head in the back, then I start on the other side and wrap outward in the other direction all the way around to meet it in the back. Hold for 10-20 seconds and drop it.

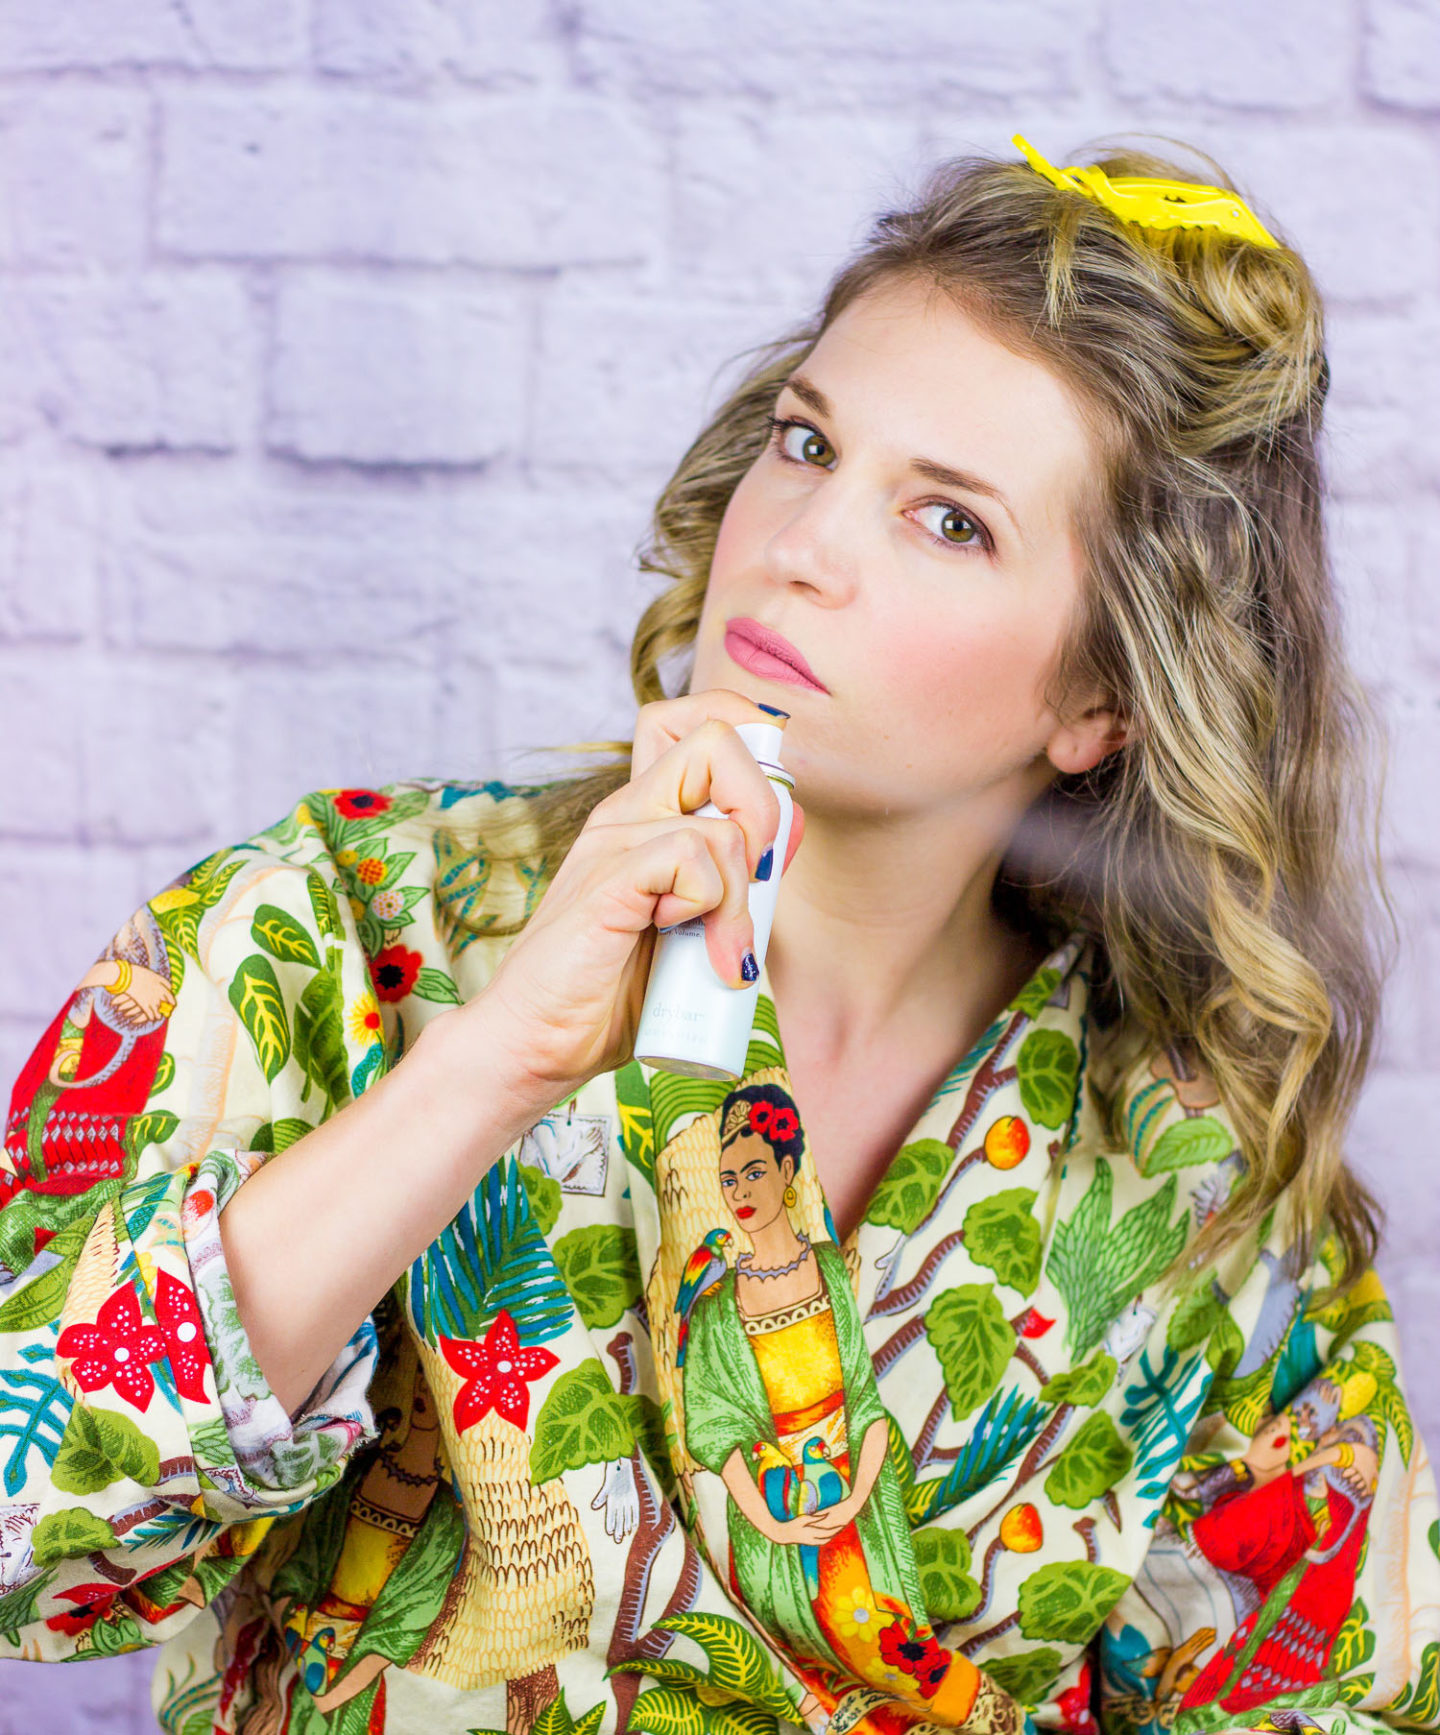
SPRAY A TEXTURIZING SPRAY FOR HOLD & GRIT
A texturizing spray makes the hair a little stick or dirty, which is good because it makes the curls latch onto each other. You can apply before you wrap the hair around the wand or after. I wait until after because I don’t want my wand to get dirty and smelly.
My absolute favorite spray of ALL TIME is the Dry Bar Triple Sec 3-in-1 spray. It volumizes, texturizes and holds. Y’all – it does not get any better than this product. I buy several at a time because I use it up every time. I think it’s actually a 4-in-1 because I use it as a dry shampoo to get 3 days out of this style (no joke). If someone asked me – “What is the one hair product you can’t live without?” THIS IS IT. It also comes in a travel size which I love because I keep them in all my purses and suitcases!
Okay you’re way more than half-way there! Now you’ve just gotta finish off the top little section. I part in the middle and then do the exact same wrap away from the head on each side. Then I spray with even more texturizing spray.

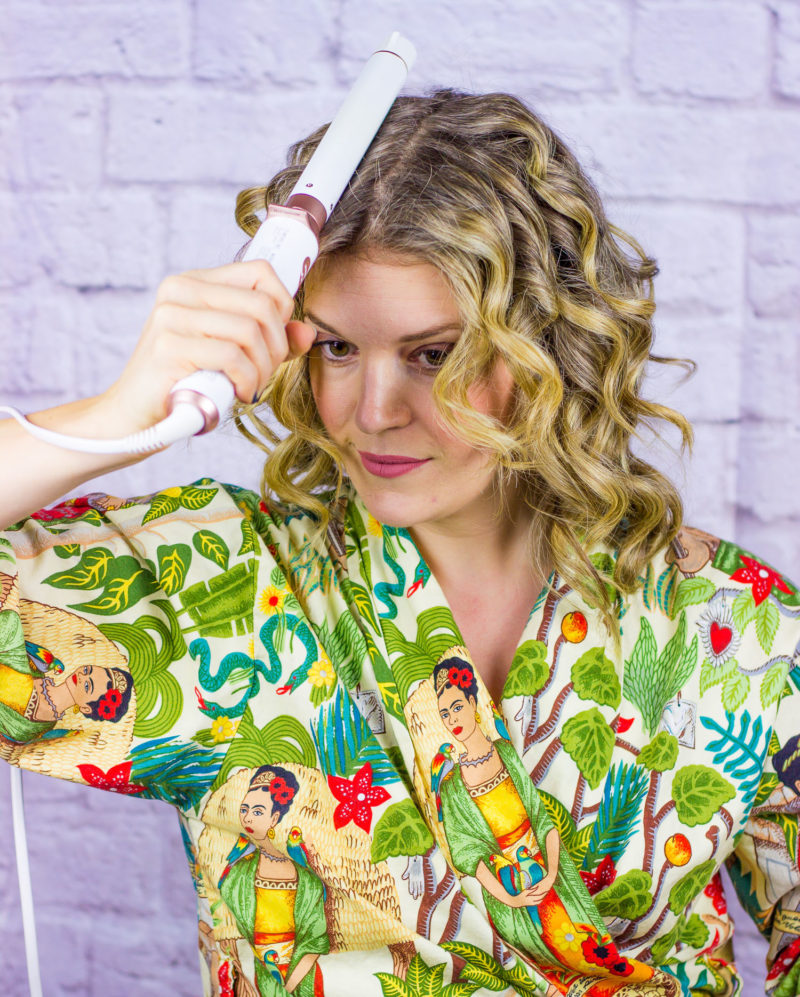
SMOOTH FLY-AWAYS AND KINKS AT THE PART
This is a little trick no one ever thinks of!! The wand isn’t just for curling. It’s a heat source, so it can also be used to smooth out certain bits like fly-aways and those annoying wrinkles that your hair naturally has. This is my fave step. I just rub it over the hair wherever I need to. (UGH – the GRAYS are insane and sticking straight up. The T3 is so good it actually tames some of them. Not all of them – will I ever tame all of them?)
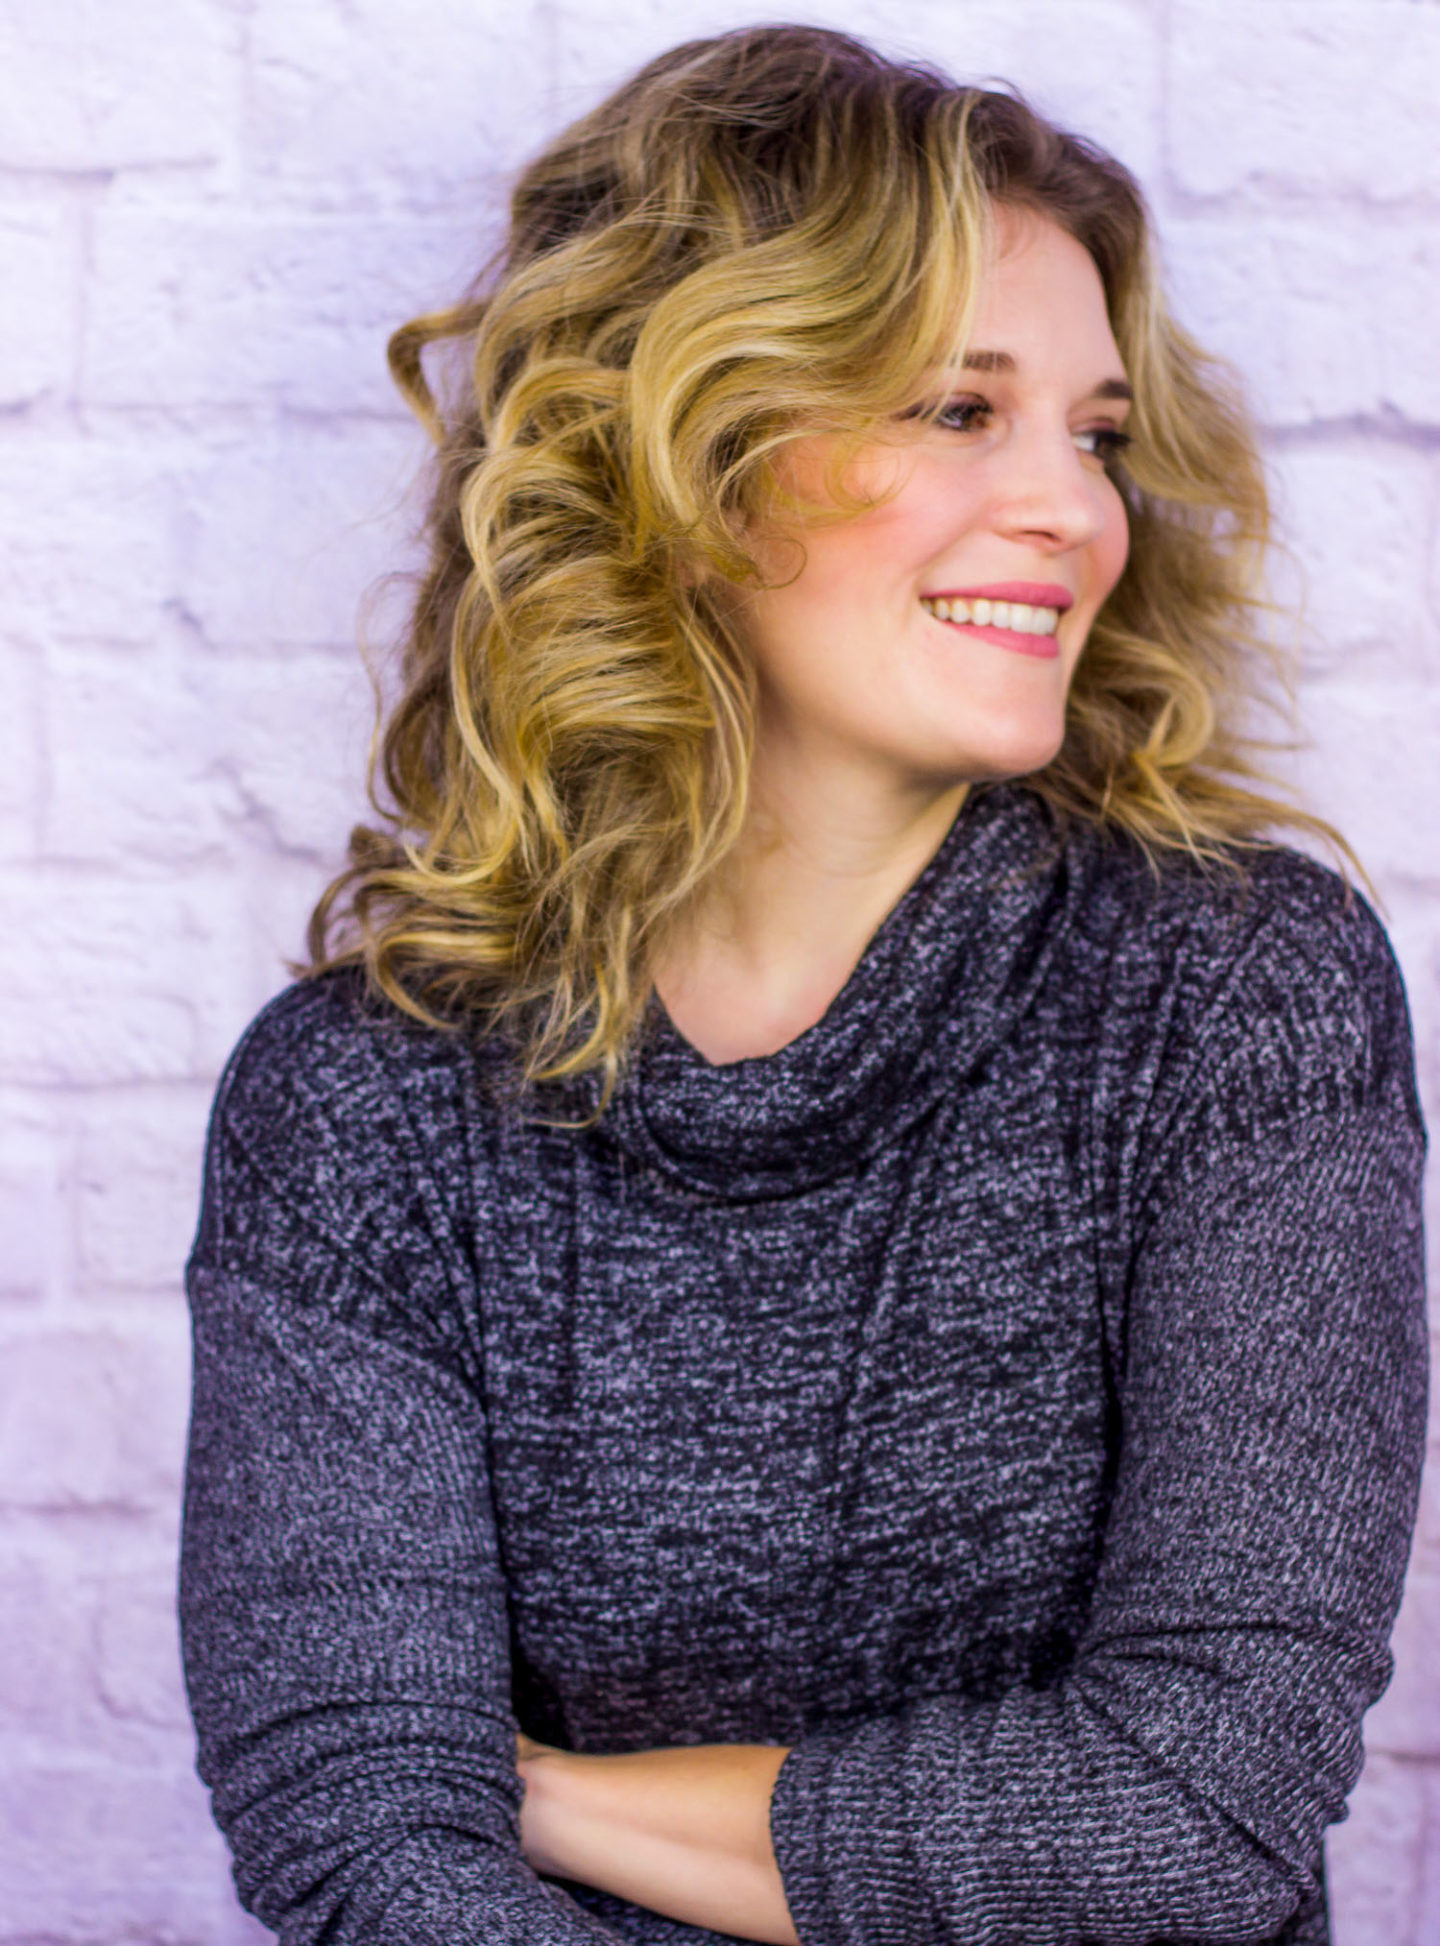
SCRUNCH & SHAKE TO LOOSEN THE WAVES
Okay so now the curls are all a little too perfect so I like to mess it up a bit to make it all flow together, get bigger, and put that texturizing spray to work. I scrunch the waves up, and then I also put my hands through the base of my skull and shake it out. Do this enough and it starts to become a real hairstyle!
If you want it to be even more loose and polished and loose, take a wide-toothed comb and run it through – starting at the ends and working your way up. Yes, comb from bottom to top – ALWAYS. Yes, you’ve been doing it wrong your whole life.
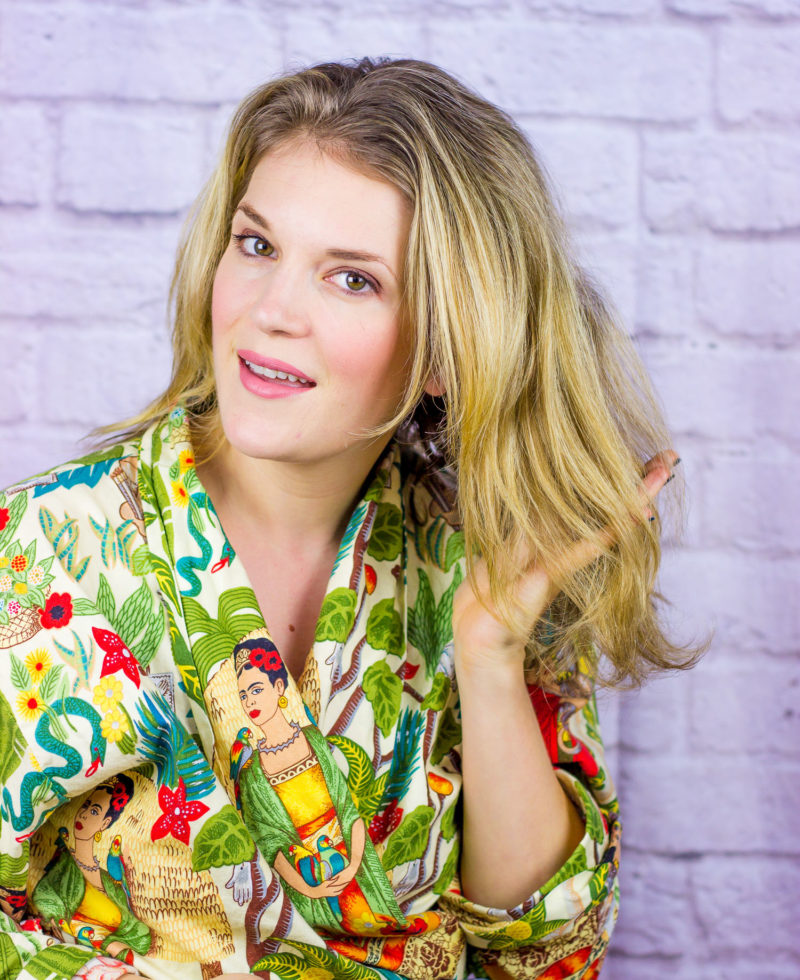
Confession, I like my hair a little messy – I always have. I don’t know why but it helps to set me apart I guess. So, I don’t usually pull out the comb yet. I’ll do that on Day 2 when I need to revive and smooth the style. Here’s my finished product. It’s big, a bit messy but still ‘done.’ I feel myself when my hair is big and curly!
Speaking of Day 2, this style will last me sometimes up to 3 days! Day 2 is often better than Day 1, actually – kind of like pizza the next day!

IG STORIES MINI-TUTORIAL
Okay, here’s me at my most vulnerable! I’ve never published a video to my blog like this and I know it’s completely rough. But, it got such a great response on IG Stories, and a few people have been telling me that video is what’s really missing from the blog so if this is helpful, I’m going to start making better quality videos for you. Tell me what you like!
P.S. If you have thin or fine hair, I cannot vouch for the effectiveness of the T3 – or any wand for that matter. My hair is fine but there is so much of it and it is so processed by bleach and dye that it will hold a style for a long time. Anyone out there with thin, fine hair who has tried it, LET ME KNOW!!!
Okay, y’all! We made it to the end. Let me know what you think in terms of videos and this tutorial (comments below or email me at [email protected] or FB or IG or whatever)!

HAPPY HAIR DAYS TO YOU!