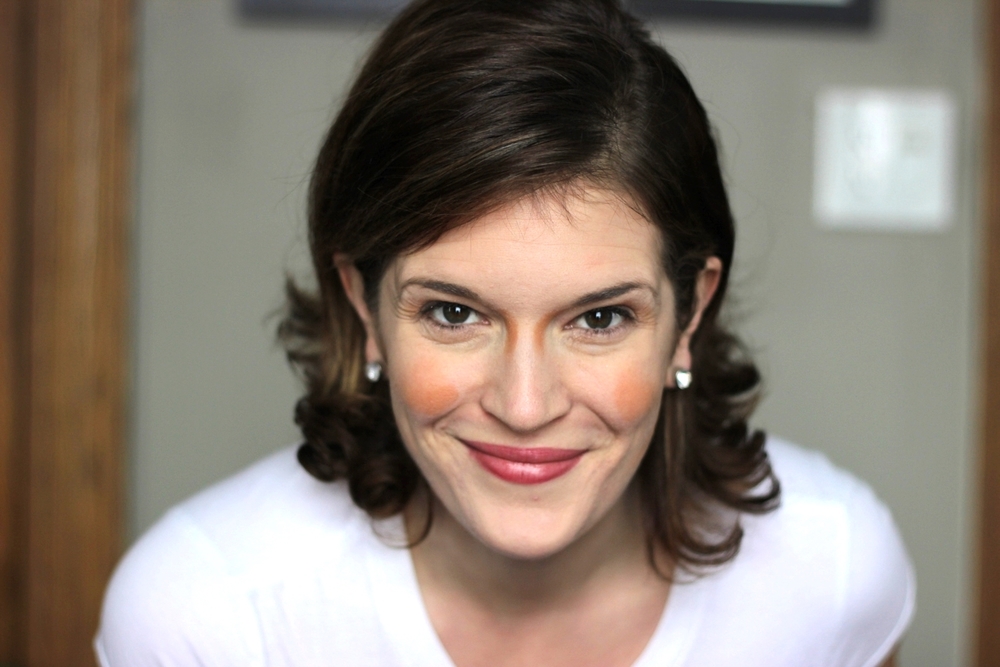
Did you know you can create an entire face with one product in about 10 seconds? Applied to the right places, bronzer – or any liquid/powder that is about 2 shades darker than your skin/foundation – will liven and lift your face in no time. Who says you don’t have time for makeup?! Read on for a quick tutorial.
STEP 1 (Optional): Prep Your Canvas
If you use foundation:, go ahead and apply your primer and the face makeup. Otherwise, simply wash your face and moisturize. For proper blending it is important to:
- Choose a powder bronzer if you use powder foundation
- Choose a liquid/cream bronzer for liquid foundation (unless you set the liquid with powder – then you can use powder bronzer).
- Make sure your moisturizer is absorbed before applying a powder bronzer if you do not use foundation.
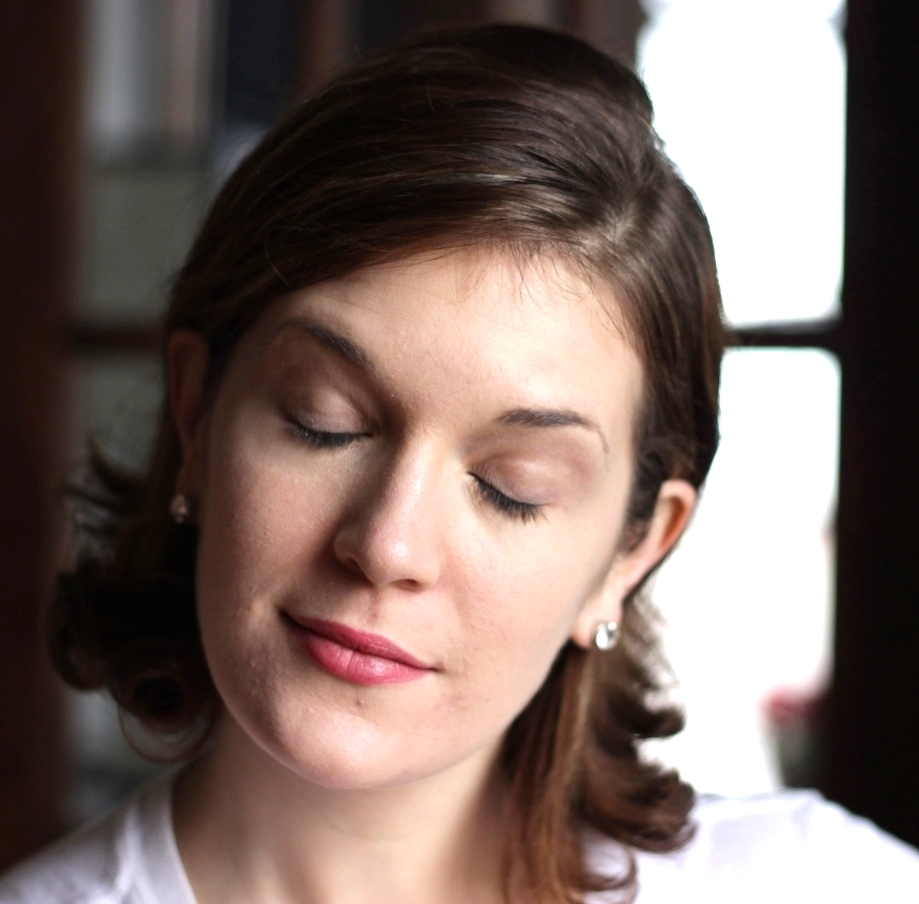
I have a lot of skin troubles and old acne scars, so I wear foundation everyday. This is me with my powder foundation – Bare Minerals – and a light brown eyebrow pencil – my blank canvas.
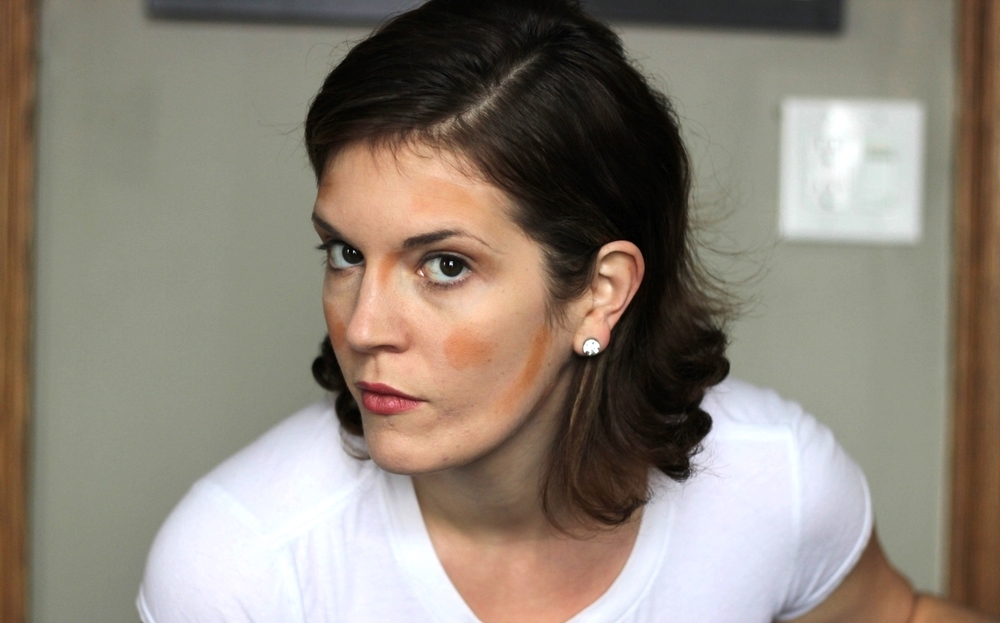
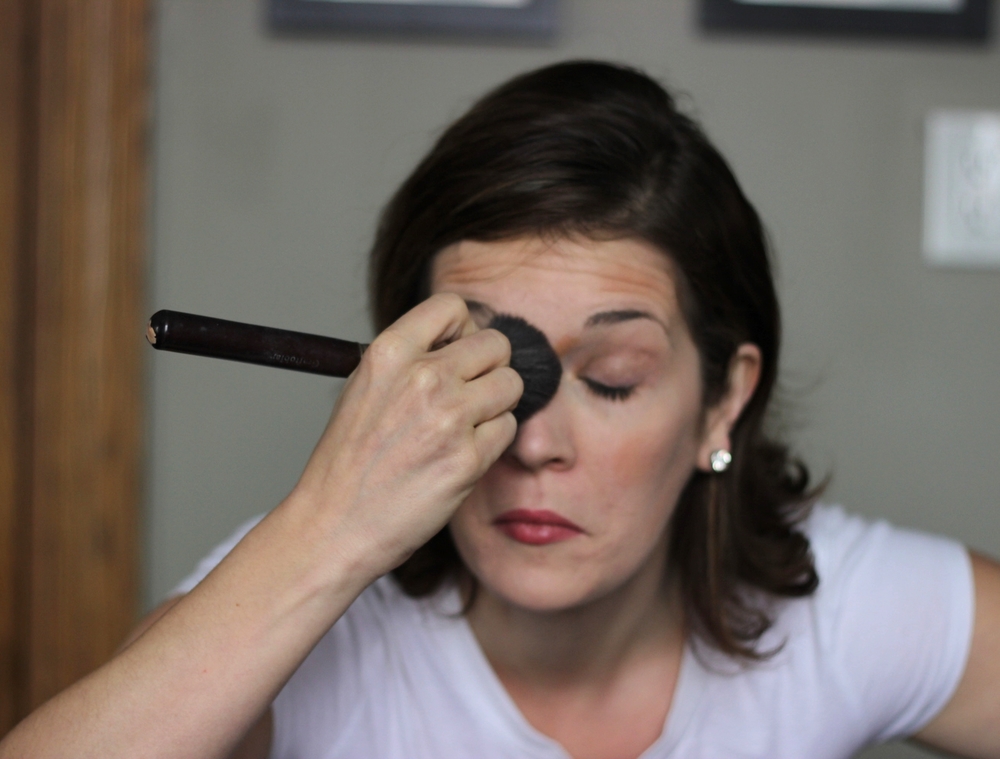
STEP 2: Apply Bronzer in the Following Places:
- Temples
- Cheek Hollows
- Jaw
- Nose Bridge – (optional – will make your nose appear narrower and eyes closer together – not everyone wants this – but I like the effect since my nose can appear wide at the base in some lighting)
- Eye Creases
- Cheek Apples (optional – I do this because I love cheek color and am extremely pale – not everyone needs to go this far)
STEP 3: BLEND. And then blend some more.
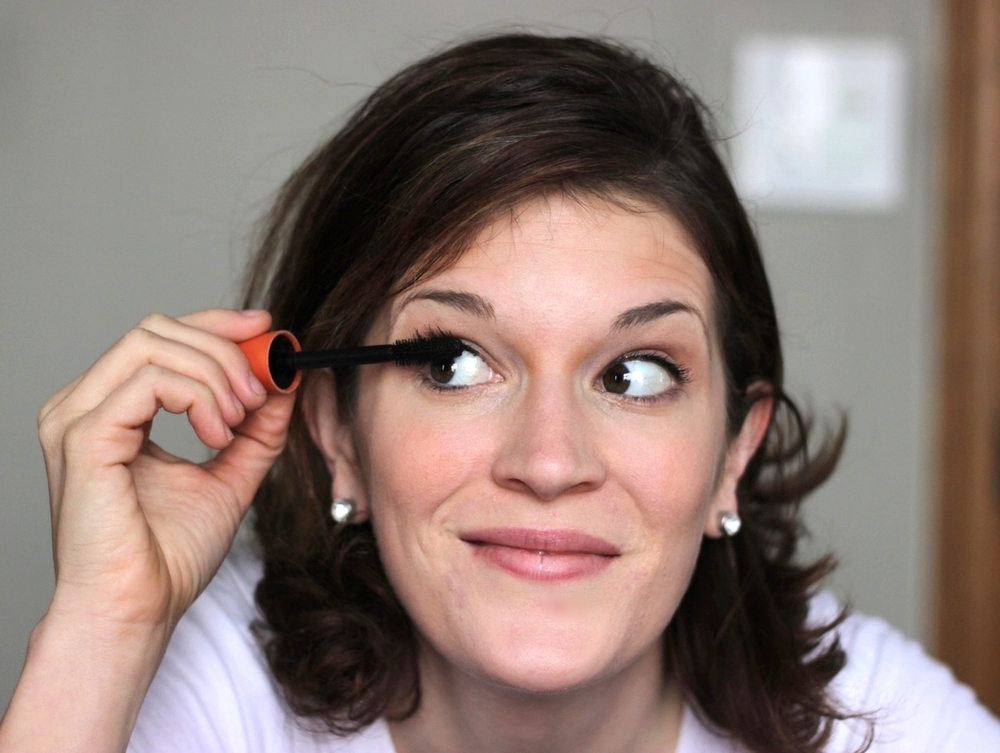
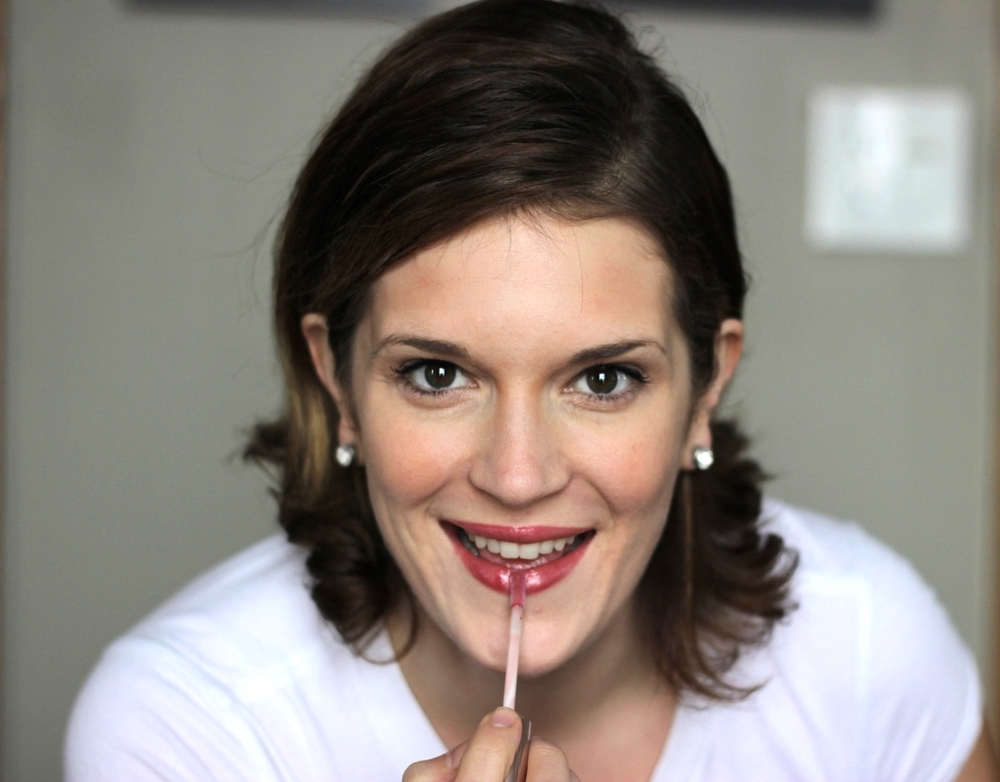
STEP 4: Apply a little lip gloss and mascara to finish the look.
STEP 5: Get on with your day! You’ve got stuff to do, and you look great!
XOXO,
Belle
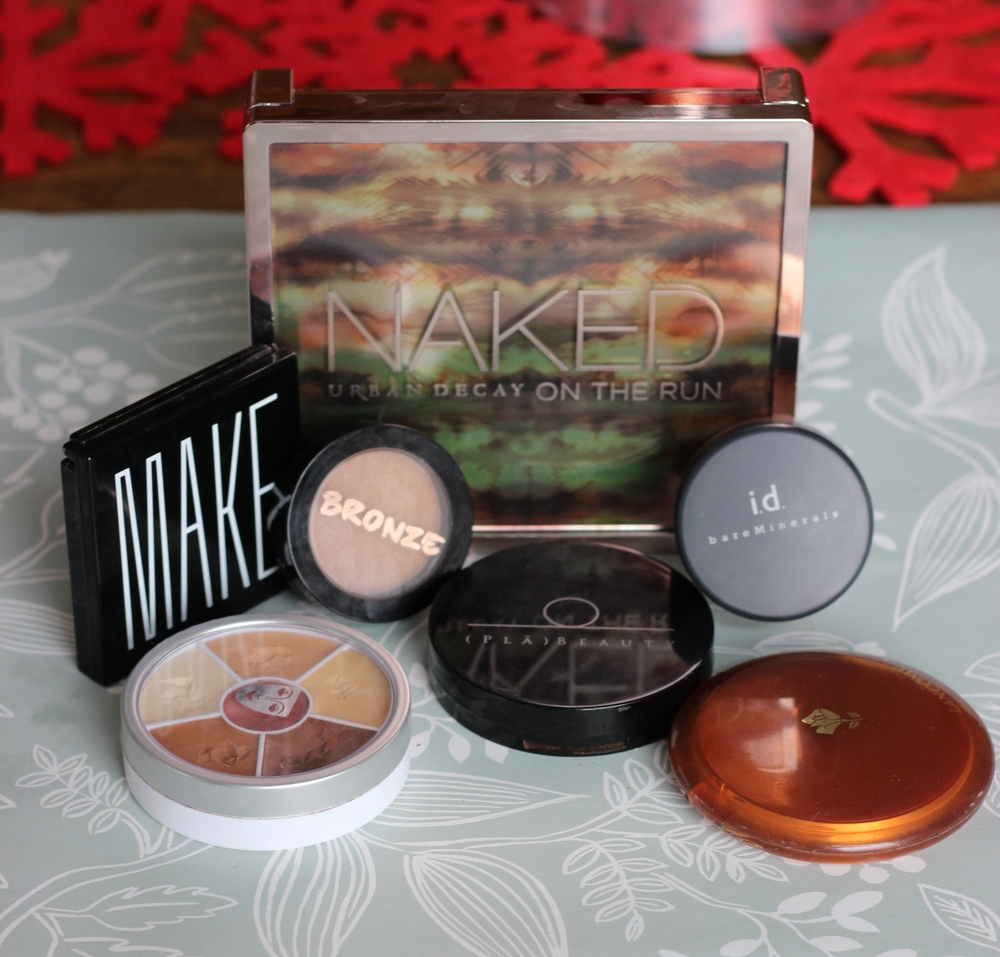
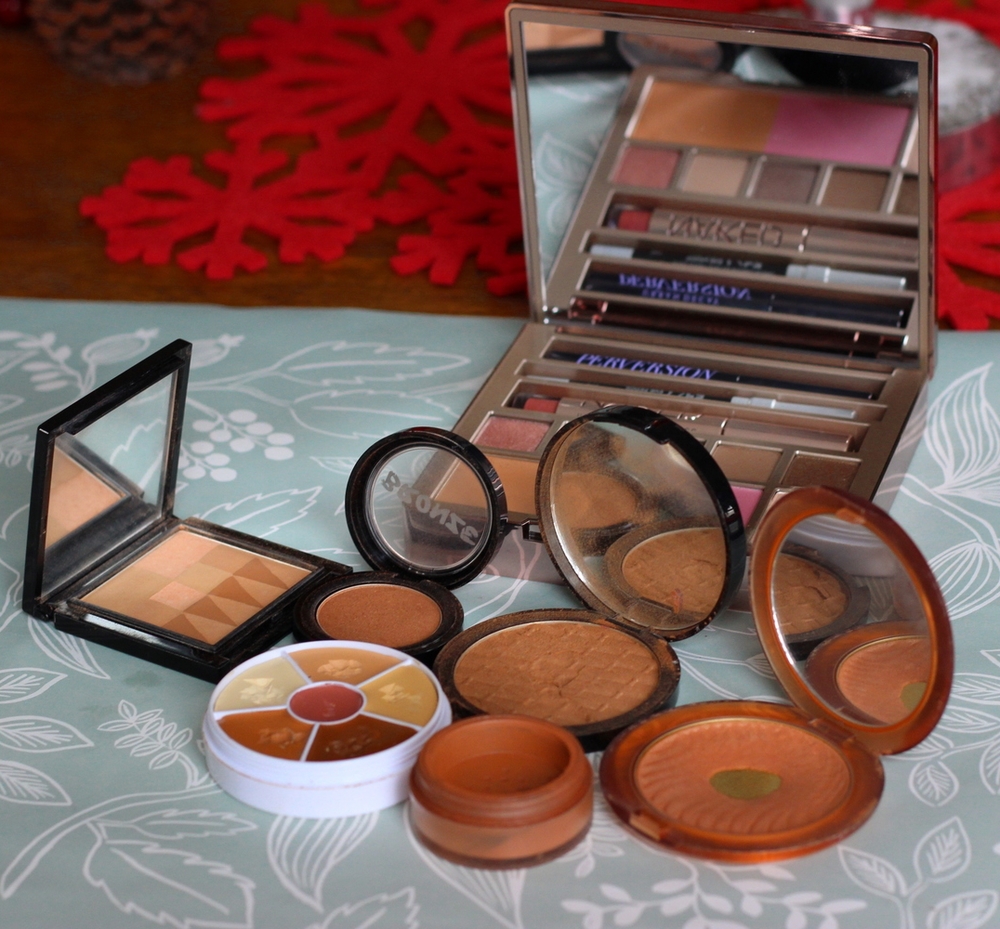
P.S. In case you are in the market, here are a couple good bronzers that I either use regularly or really trust the brand. You’ll also find them in the SHOP BEAUTY section of my blog in the navigation bar above.


