As someone who has struggled with acne for nearly 20 years, I’m no stranger to aggressively concealing my flaws on a daily basis. Concealer can be my absolute best friend most days, but if not done right, it can also be my own worst enemy. I’ve made plenty of mistakes throughout the years as I learned how to master this ever-challenging cosmetic item, and I’ve seen other women make them too. So today, I’m sharing a few of my concealer secrets in case they might help you!
USE (UNDER) EYE PRIMER:
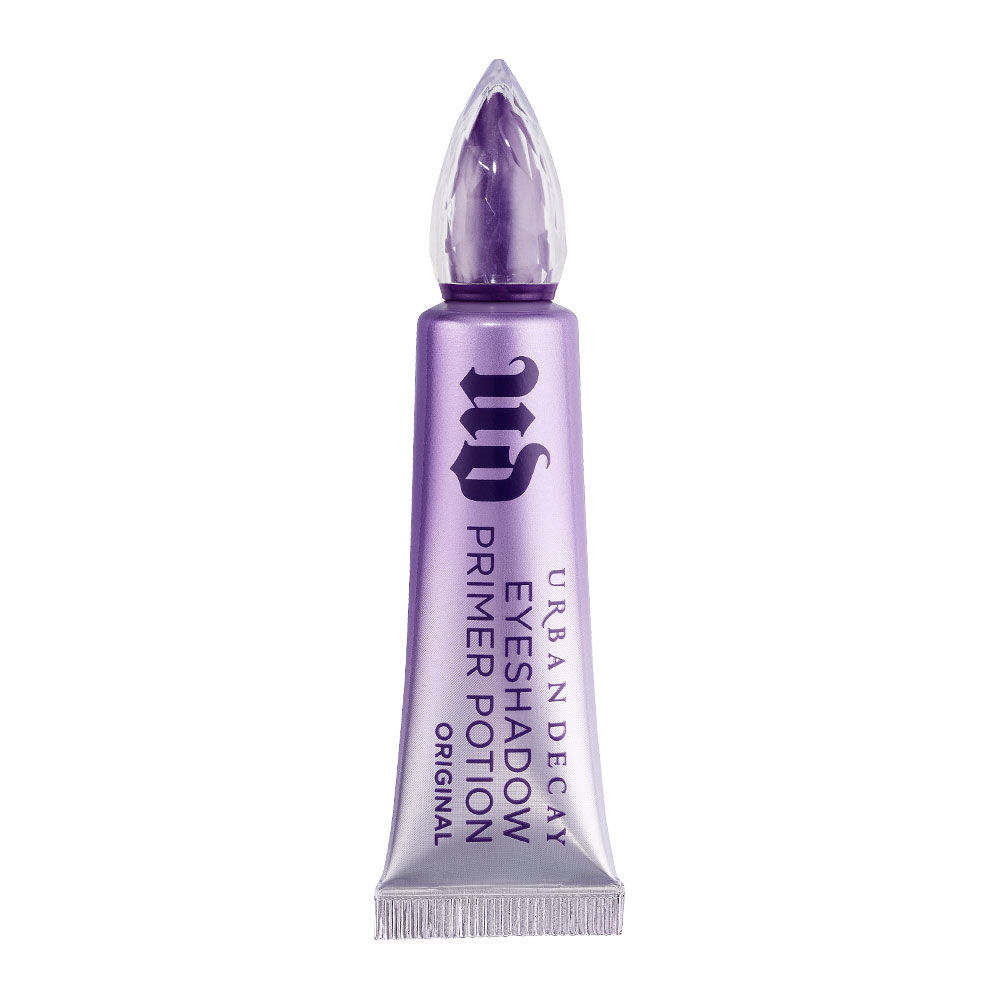
I always swipe a primer over my whole face after moisturizer to create a protective barrier between my skin and my makeup – that’s a given. BUT my secret weapon if I really need my concealer to stick is: I will swipe my eyelid primer UNDER my eyes, as well. My favorite eye primer is and will always be Urban Decay Eye Potion. It goes on smoothly and dries slightly sticky, so it latches onto the concealer (and the eye shadow). Just make sure to use a very thin layer and to fully blend and let dry before applying anything else.
APPLY CONCEALER BEFORE FOUNDATION IN ONE SHADE DARKER:
This is something most people don’t know to do – they apply foundation first and then try to conceal all the bad stuff after. In fact, you want to do the opposite – correct and conceal the flaws on your canvas first, then smooth the whole surface with foundation second. If you apply concealer second, it may not last as long and could be visible to anyone looking at you – exactly what you don’t want! The other thing you do want is to choose a shade slightly darker than your foundation. You don’t want to add lightness to your trouble areas – this draws attention to them. Plus, you’ll be covering it with a lighter foundation, so you’ll still achieve brightness.
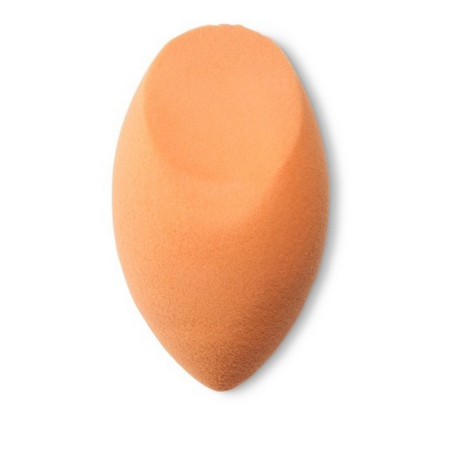
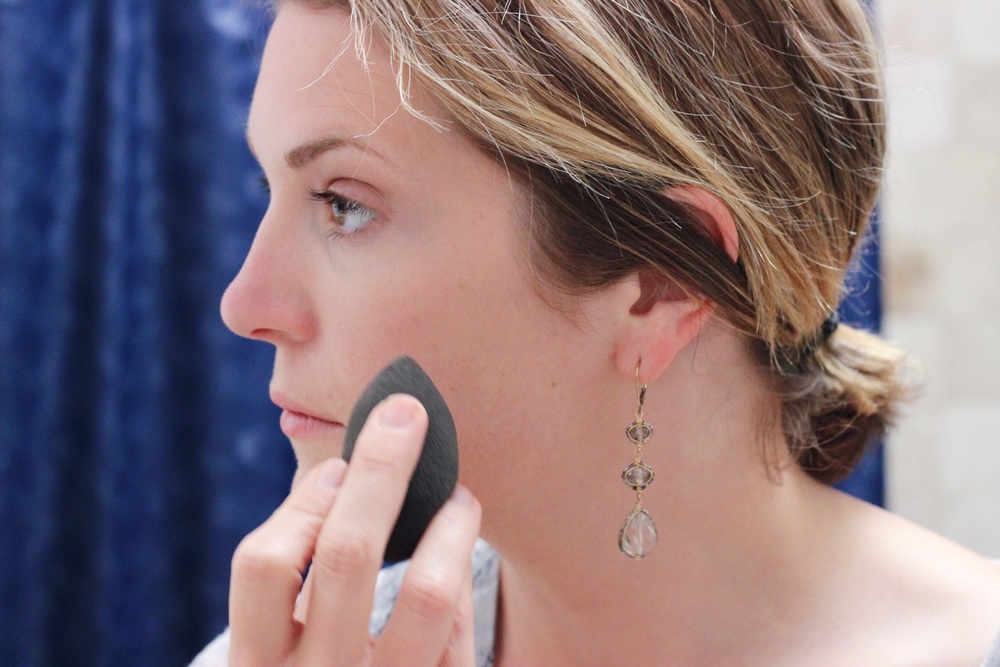
TOOLS – FINGERS AND BRUSHES AND SPONGES:
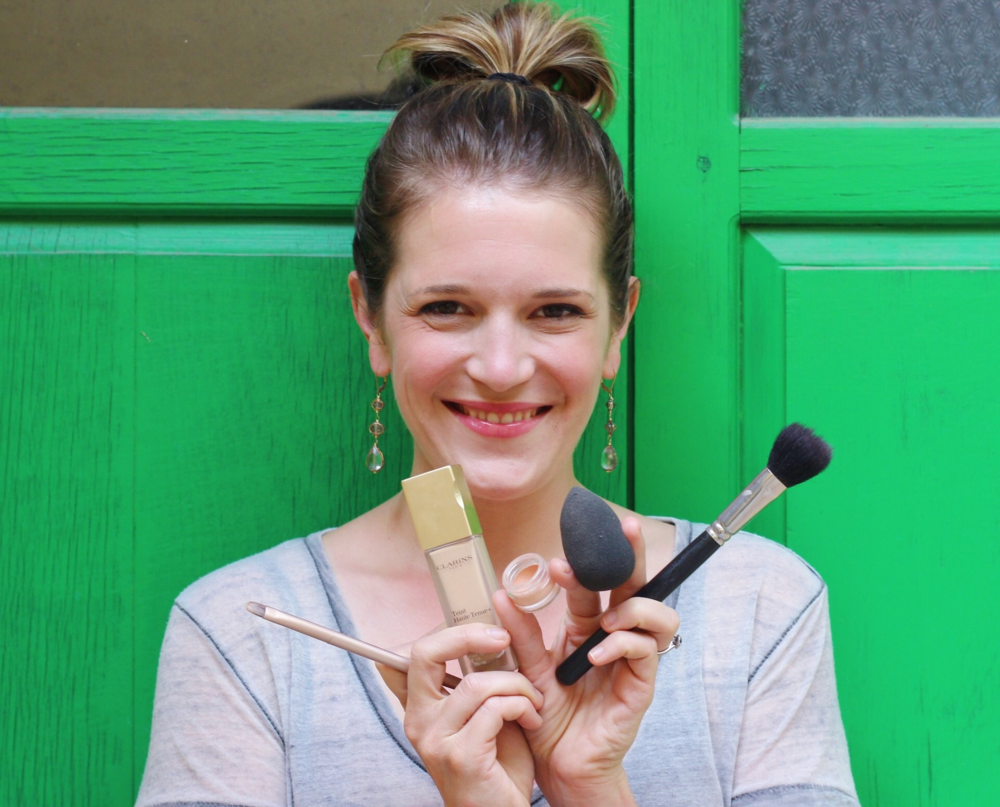
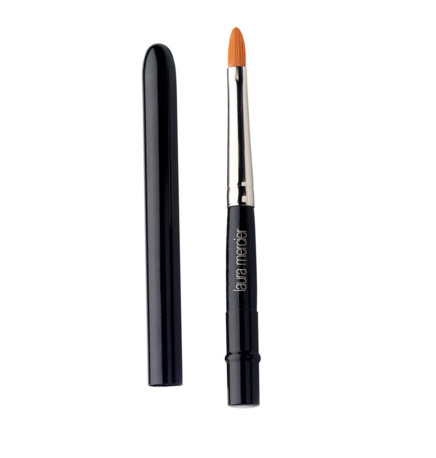
This is a personal preference. I rotate between all three on a near daily basis depending on how I feel and the desired effect I’m going for. Here’s my advice for each: use a brush to apply product to skin. Use fingers and sponges to blend. Keep in mind that fingers are oily and oil breaks down makeup, so you should expect to lose some coverage if your hands aren’t clean – wash them first! A sponge on the other hand can absorb a lot of product or be too dry to move it around – wet it and squeeze it out so that it’s damp when using it to blend! Recommendations: Laura Mercier Secret Camouflage Brush and Real Techniques Miracle Complexion Sponge.
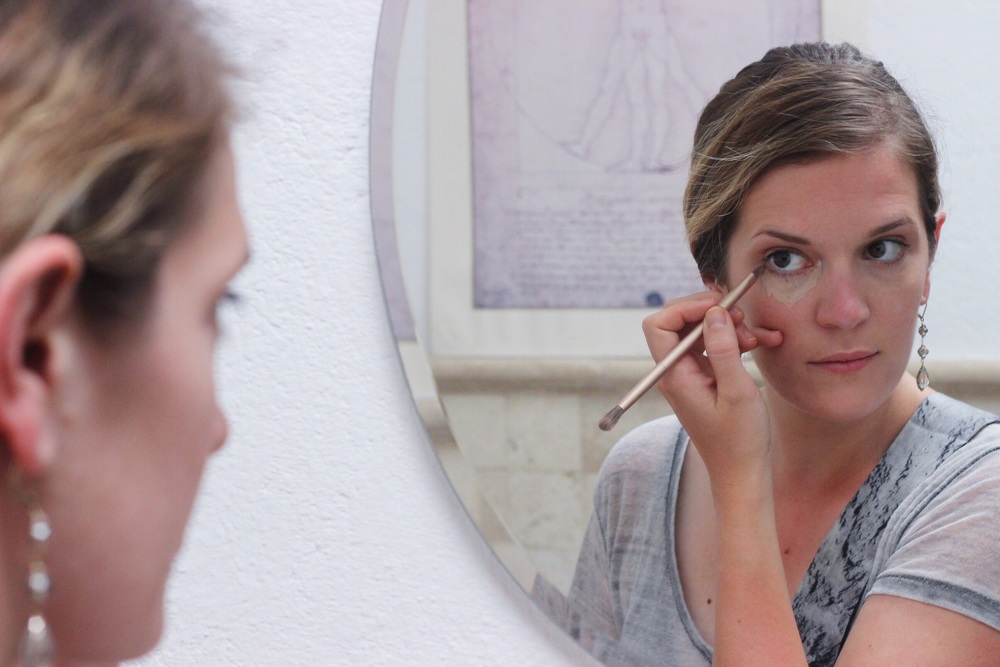
INVERTED TRIANGLE APPLICATION:
I learned this technique at Kryolan makeup school 2 years ago. Once I started applying concealer this way, I never looked back. By applying it in a downward triangle, the coverage appears more seamless once you blend it in. You keep yourself from looking like you’ve got bright reverse-raccoon eyes and from calling attention to the exact area you’re trying to conceal. Instead, outline and fill in an inverted triangle with concealer dots (fill in the shape completely for more coverage) and blend thoroughly.

CORRECTIVE COVER UPS:
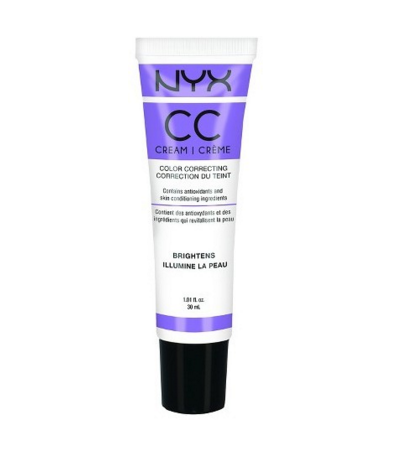
Colored correctors are popular for skin discolorations because they are intended to cancel out the problem area. By applying a color that is its opposite on the color wheel, you essentially make the issue disappear. For example, a sallow/yellow palor can be brightened with a purple base cream, or a red acne scar can be masked by a green concealer. I’ve had mixed luck with corrective color concealers, but what I’ve learned is that they do not replace your regular concealer. Instead, apply them first, then cover the blemish as normal with concealer and follow with foundation. Recommendations: NYX Color Correcting CC Cream and Smashbox Photo Finish Color Correcting Adjust Foundation Primer.

SET EVERYTHING WITH POWDER:
After you’ve completed your entire face, use a translucent powder to set everything so that it doesn’t run throughout the day as your skin oils come to the surface. Again, don’t do this after concealer but before foundation – it will create a giant cakey mess. When applying I recommend you use a loose powder brush (as in less hairs than a blush brush) so that the application is not too dense and clumpy – and always make sure to blow the excess powder off before you swipe it across your under-eye area. Sometimes I re-apply powder under my eyes throughout the day to soak up any excess oils. Recommendation: Laura Mercier Loose Setting Powder.


MY FAVORITE CONCEALERS:
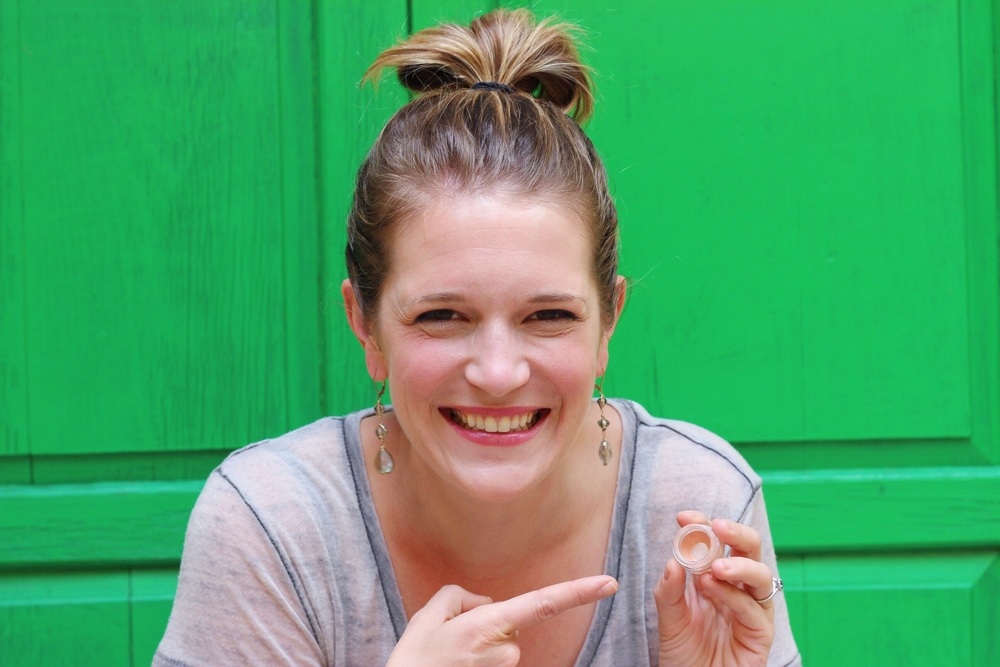
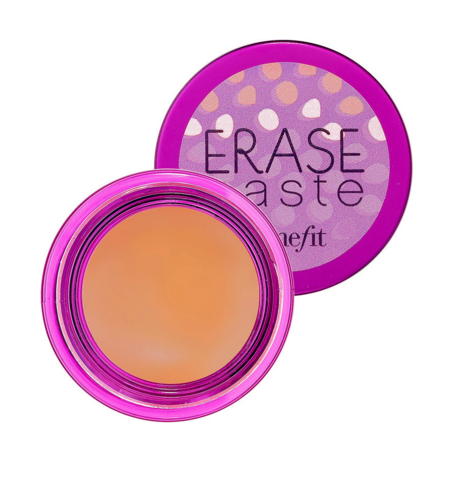
Confession: I’ve tried so many and I am still searching for my concealing soulmate. I tend to gravitate towards the tackier textures in pots, but I’ve also had good luck with more liquid versions, too. I’ll usually keep one of each onhand depending on where my skin is at any given time. If it’s dry, I might go for the tacky one. If it’s hot/oily, I might go for the liquid. I currently have Benefit’s Erase Paste and Clarins Instant Light Brush On Perfector on rotation. Here’s a great article from Into the Gloss, one of my go-to beauty sites, on best concealers that I’m using as a guide for trying out new ones!

And finally, there’s one concealer secret I keep reading about that I am DYING to try, so I’ll save it for another post – the red lipstick trick. Yes, that’s right – people are claiming that red lipstick is one of the best concealers out there when applied under foundation. I’m nervous to try it but we’ll do it together in a follow-up post. Stay tuned.
Thanks for reading and happy concealing!
Belle