There are a ton of different options out there these days for curling and waving your hair, and if you’re not overly-obsessed with hair and makeup like me, figuring out the right wand or iron isn’t that easy or intuitive. Tapered or straight-barelled? Clamped or wand? 1/2″ or 1″ or 1.5″? It’s so confusing! Today I’m sharing my three favorite types and breaking down what each one does so that you don’t have to spend money on a bunch of different things.
The easiest way to remember what does what is the following: Wands are for waves. Clamps are for curls. The smaller the barrel, the tighter the curl/wave. Now, let’s get into the details.
WAND = WAVES

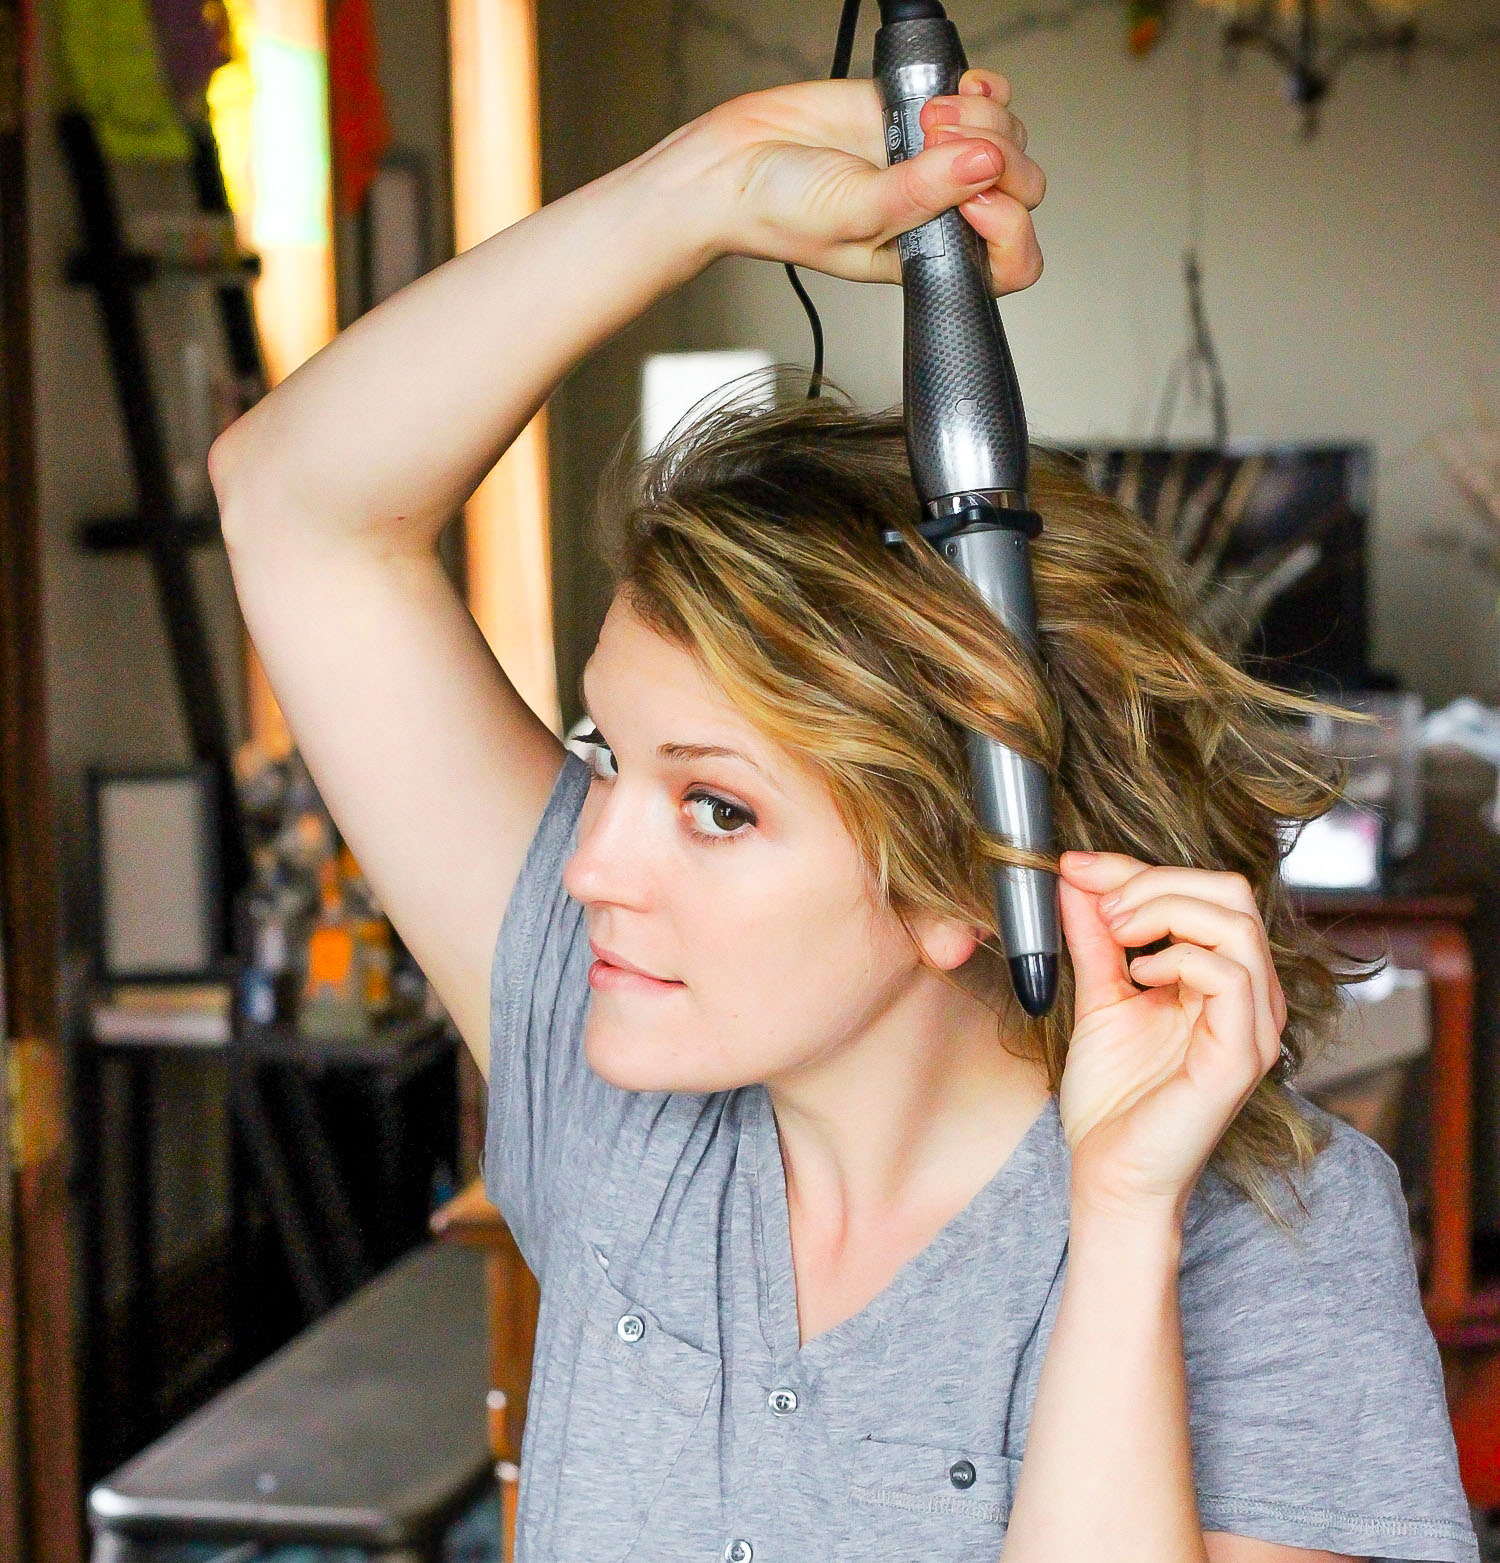
In general, wands are for waves, not tight curls. They are a really good option for women with straight hair because they can help create some movement and texture in the hair without looking like you suddenly sprouted ringlets overnight. For women with curlier hair, they can help to loosen up your style and make your texture more consistent. The key is to master the tension (how tight you pull the hair around the wand) and the way you hold it. My tips:
- Hold the wand upside down and curl away from your face (see the pic in the gray tee above).
- Hold the hair tighter around the wand with a lot of tension to create a less frizzy and more defined wave (see the pic below where I am applying lipstick).
- Hold it loosely for a barely there wave (see the pic below where I am in a white top).

Tapered wands produce a loose and beachy wave with wispy ends. The curl can be thicker at the top and tapers at the end, just like the wand. What makes this the least polished and most casual look is the wispy ends, but I think it’s a great all-around winner of a way to go, especially for those intimidated by traditional clamped irons.

Straight-barreled wands create a wave that is a touch more polished because the curl is a consistent shape from top to bottom. To the naked eye, you might not see much of a difference, but if you look closely at this purple blazer photo below, you’ll see the waves are a little more uniform, more round, and a lot less wispy and frayed on the ends.

CLAMPED IRON = POLISHED & TIGHTER CURLS

I love curling irons with clamps because they create a defined, polished and perfect curl. They also hold the ends in place, giving them a finished look, rather than the wispiness of a wand. When you use a curling iron with a clamp, you don’t have to worry about how tight you are holding the hair because the clamp creates that tension for you. Here are my rules of thumb for using a clamped curling iron:
- To release the curl and make it look more natural, comb through the hair after you’ve curled it. The more you comb through, the more the curl will release.
- Curl some pieces towards and some pieces away from your face to break up the look. We want to avoid looking like Shirley Temple.
- For shorter hair, use a smaller barrel. I use a 1/2″ for tight curls (see the red dress pic below), and a 3/4″ for a looser curl (see the close up below with red lips below).
- For longer hair, use a larger barrel and nothing smaller than 1″.


WAND V. IRON – WHICH IS BEST?
So which one is best? It all depends on your aesthetic and personal style. I like them both equally but for different reasons. Here’s the basic distinction I make:
- I pull out the wand for casual Fridays, weekend errand days or going out to a rock show (see denim jacket pic below).
- I pull out the iron when I need to be uber-polished for a corporate work presentation or want to look glamorous for a fancy date night (see black dress pic below).
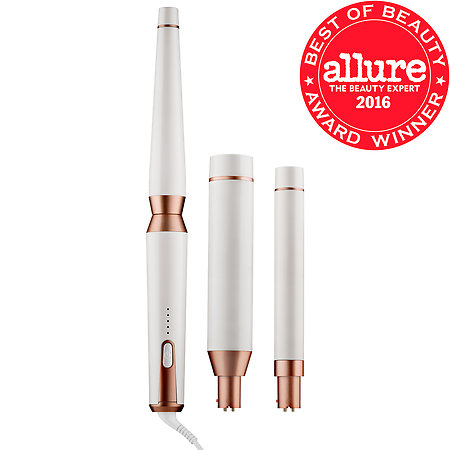
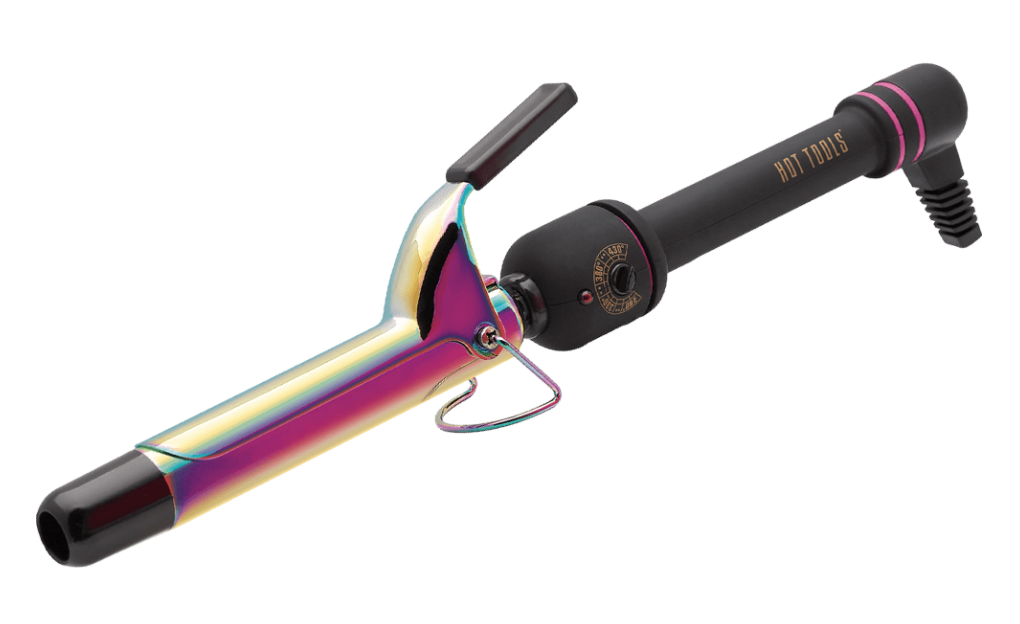
My favorite picks are the T3 Whirl Trio (white set above), which comes with 3 interchangeable wand heads – 1 tapered and 2 different sized straight barrels. This is a really costly investment, so to save money as a beginner, I recommend buying a cheaper Hot Tools curling iron with a clamp and using it as a wand when you want waves. Just keep the clamp closed and wrap the hair around.


I hope this helped decode the different types of wands and curling tools out there for you to use!
P.S. Check out my tutorial on how to make a fake bob if you’re looking for more hairstyle inspiration!


