
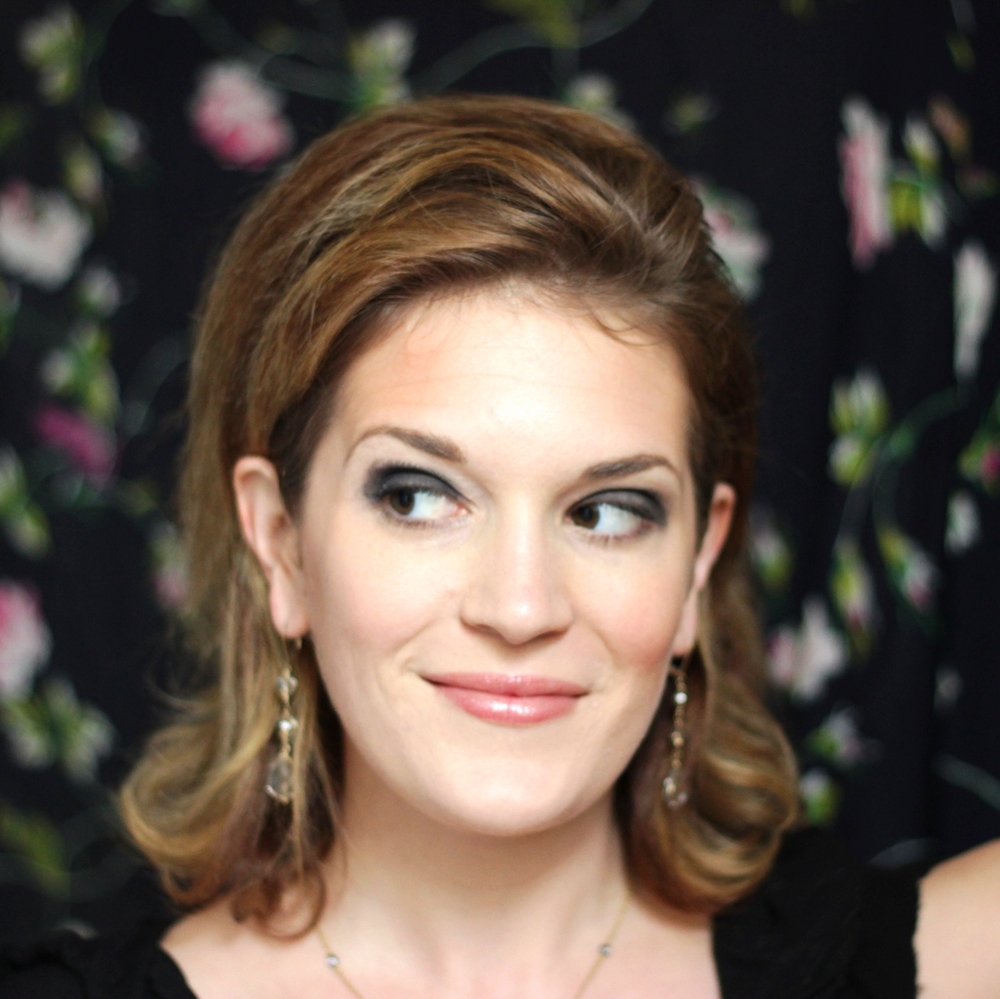
I don’t know about you but for me, the smoky eye is this ever-elusive, makeup miracle that every woman in a cosmetics ad achieves but no one in real life can ever duplicate without professional training. Wait – I HAVE professional training and it still eludes me. Which is why today, I’m sharing what works for me, gets the same effect and takes just a few seconds..
TOOLS AND SUPPLIES:
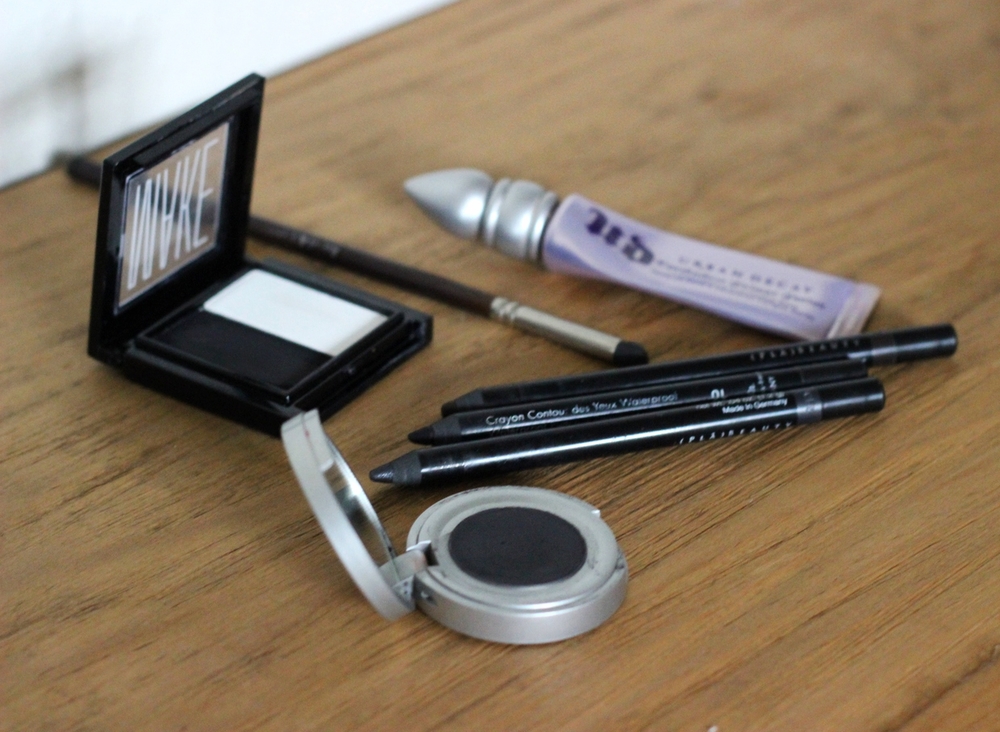
All you need is a dark shadow and cream liner in black, navy, deep plum, dark brown, olive or even a deep bronze. For tools you’ll need your fingers or a couple brushes if you have them. A primer is optional – I know many women don’t have this on hand – but if you do, I highly recommend using one.
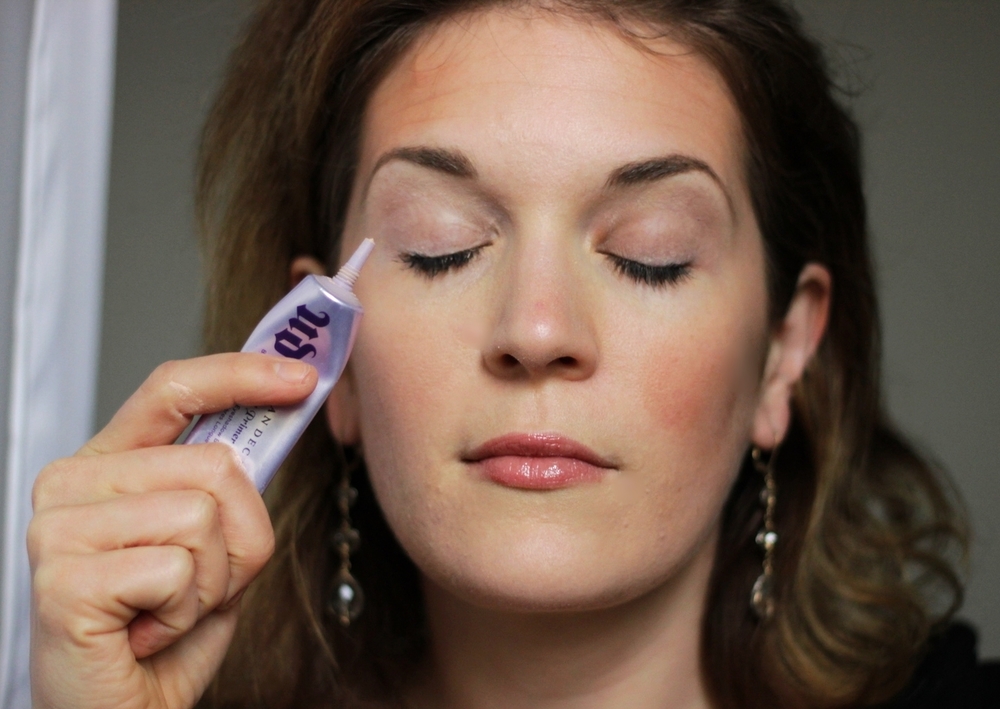
OPTIONAL Step 0: PRIME (RECOMMENDED)
Eye primer keeps the shadow in place on your lid which can mean the difference between a smoky eye and the raccoon eyes you have the morning after you forget to remove your eye makeup. I prefer Urban Decay Eye Potion. I’ve been using it for years – and one tube lasts that long, as well. Sometimes I’ll even put some on the skin under my eyes to hold conealer on!
Insider tip – keep your eye out at TJ Maxx or Nordstrom Rack – sometimes you can find this at a discounted price there!
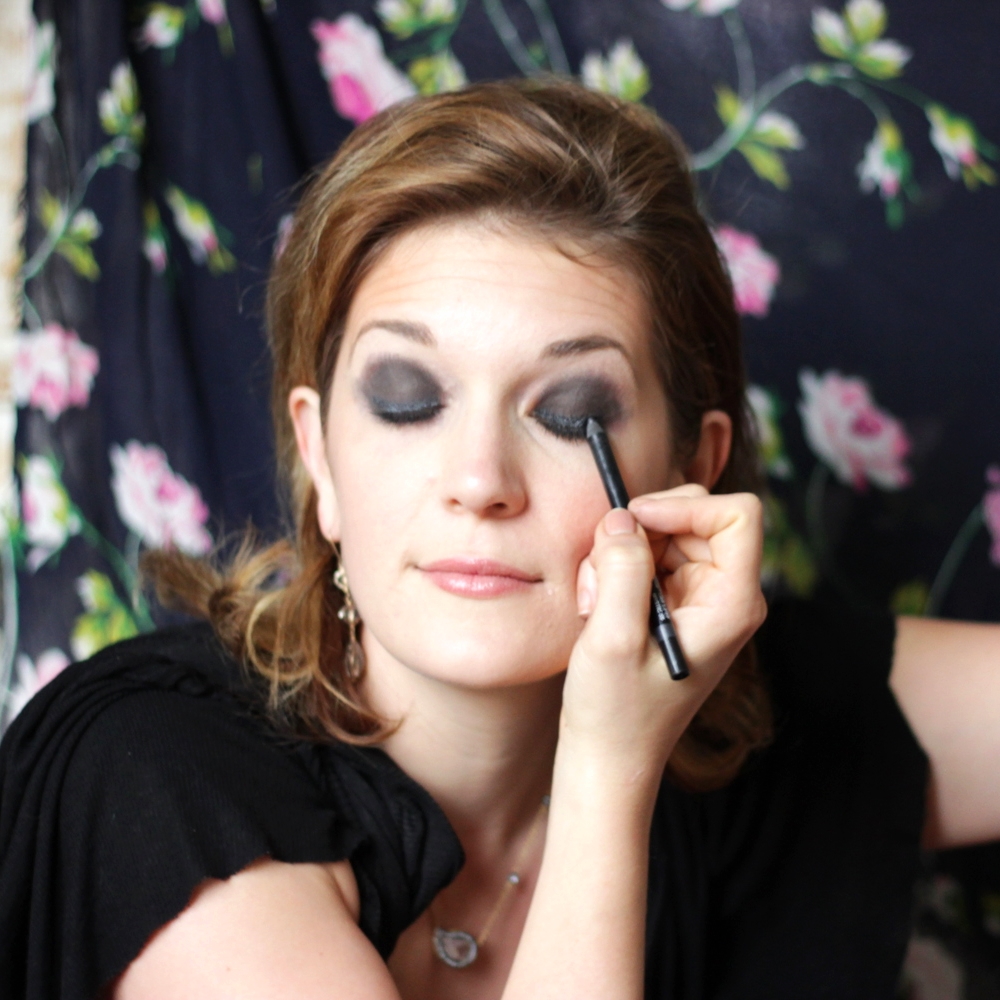
Step 1: PRESS DARK SHADOW ONTO THE LID
Take your shadow brush or middle/index finger and gather a healthy amount of shadow. Press this onto your lid until it is covered. It can be messy because you’ll clean up loose particles that fall onto your face at the end plus, we’ll blend right after this.
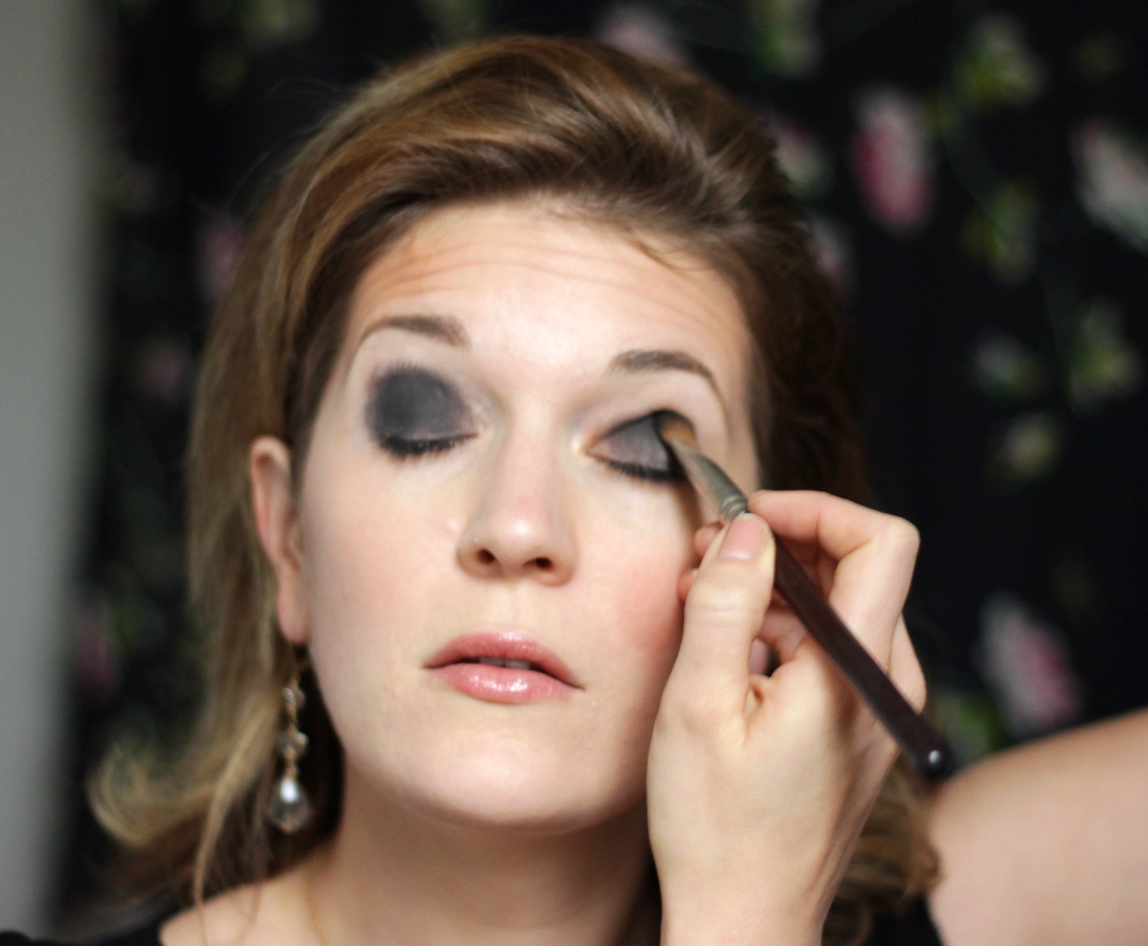
Step 2: BLEND
Use your finger or a very round brush to tap and blend this color into the skin. I often blend up into the crease because it’s a good hiding place for extra product – it makes your eyes look deeper when they are open.
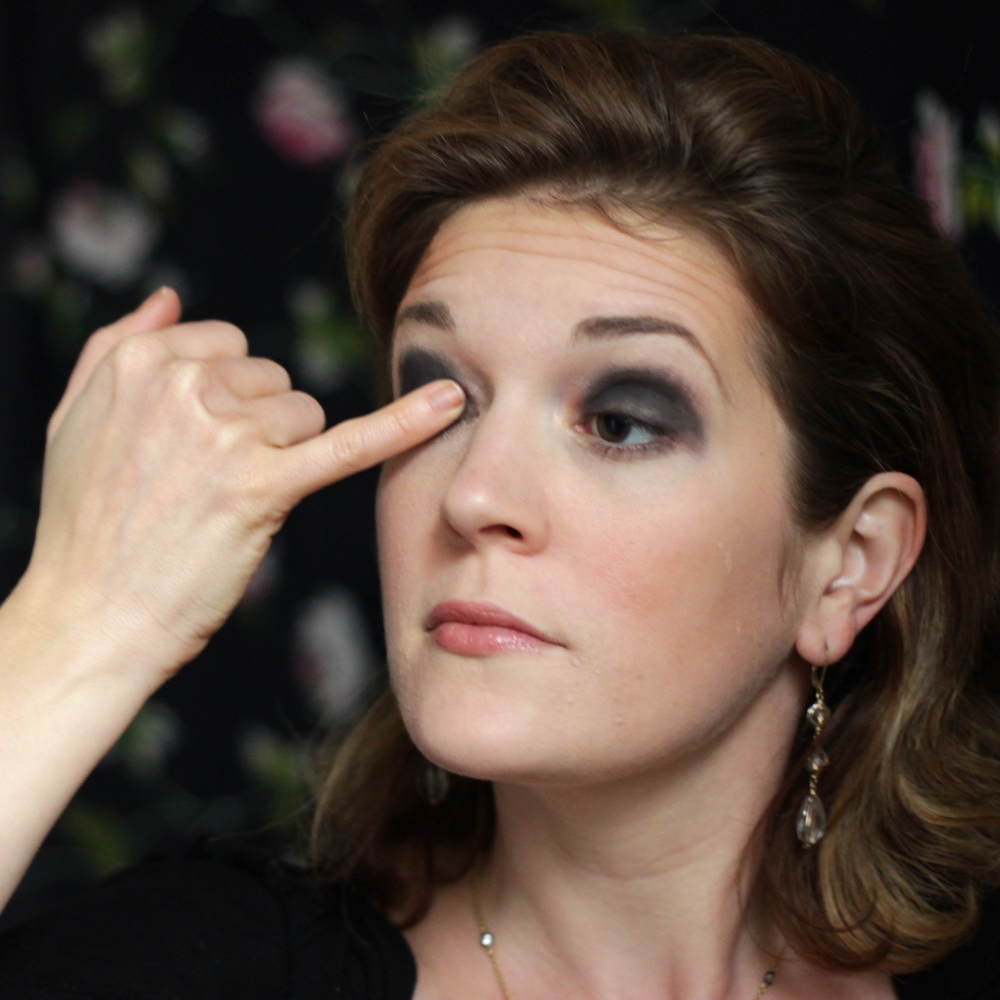
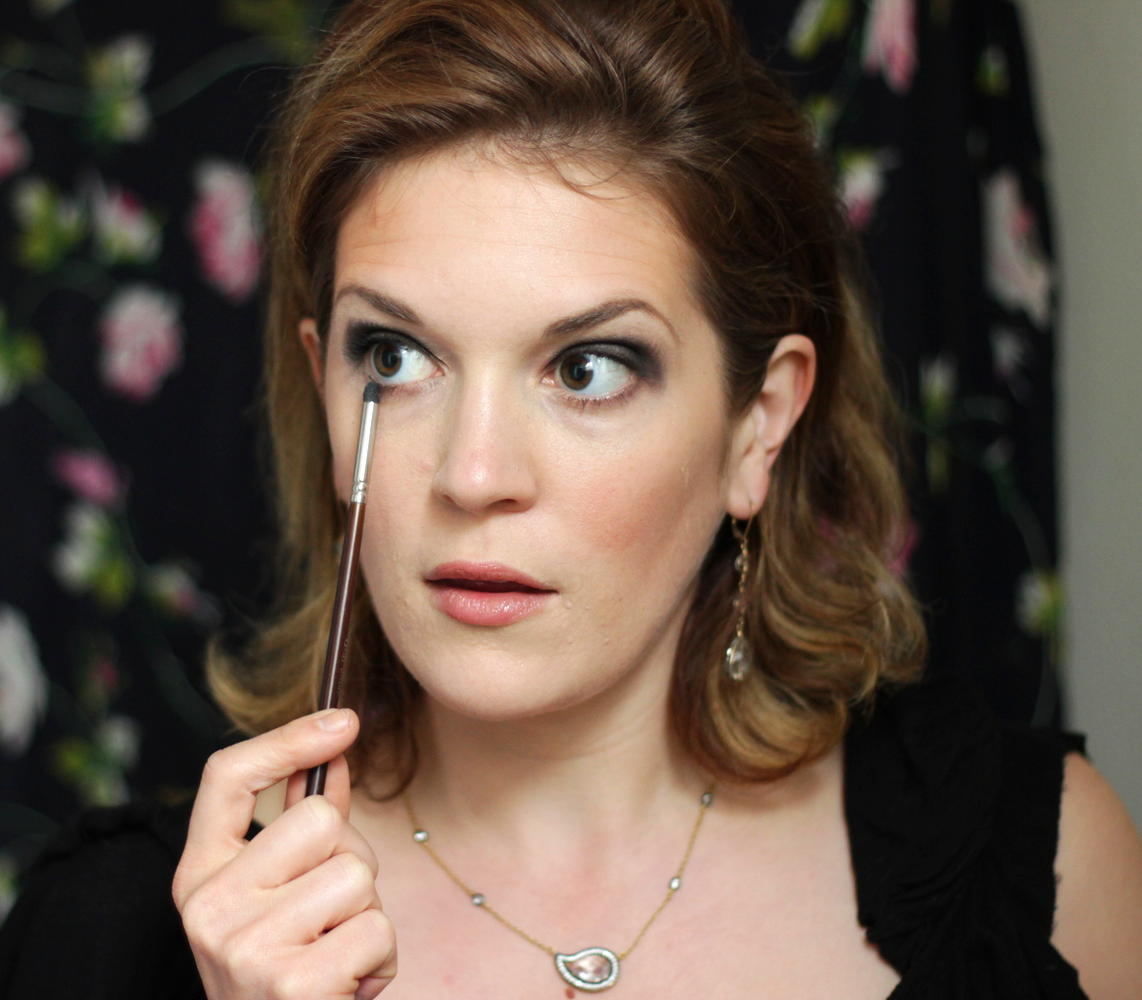
Step 3: SMUDGE SHADOW ON LOWER LASH LINE
This is actually the key to making the eye ‘smoky’ because the smoky eye always includes shadow on the top and bottom of the eye. Take a small round brush or your pinky finger – they mimic each other in shape and either works well – and smudge just a bit of powder onto your tool. Then drag along the lower lash line – just under the lashes.
STEP 4: ADD A THICK LAYER OF MATCHING LINER AND APPLY MASCARA
If you are not as new to the smoky eye and want an extra smouldering effect, I recommend taking a liner in a similar color to what you’ve smudged over your eye and creating a thick line from outer-eye to inner-eye. Do this by pulling your eye taut and drawing a line. If you use a gel liner, it will go on smoother. You can pat it with your finger after applying to make it blend in a bit with the shadow you’ve already applied
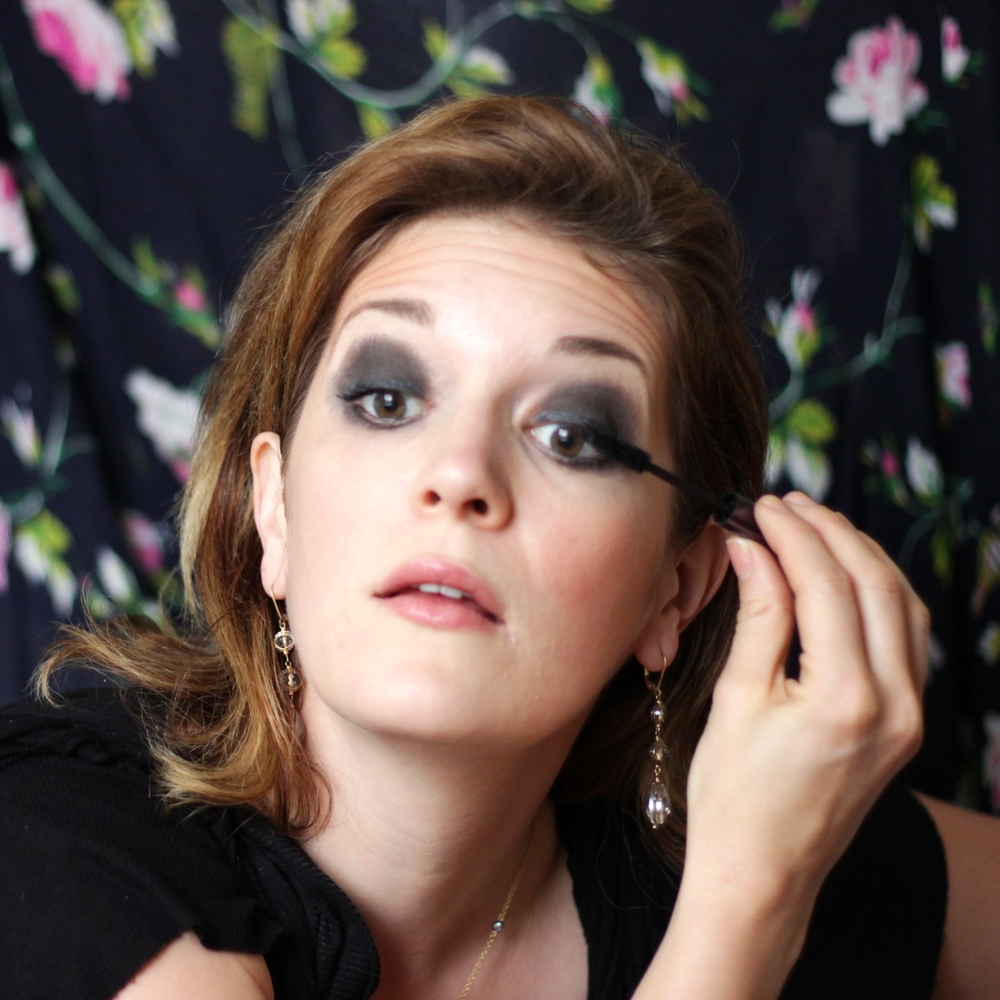
This mascara step is pretty easy and self-explanatory, but make sure to apply it to top and bottom lashes. Adding a couple coats will really make the eyes pop!
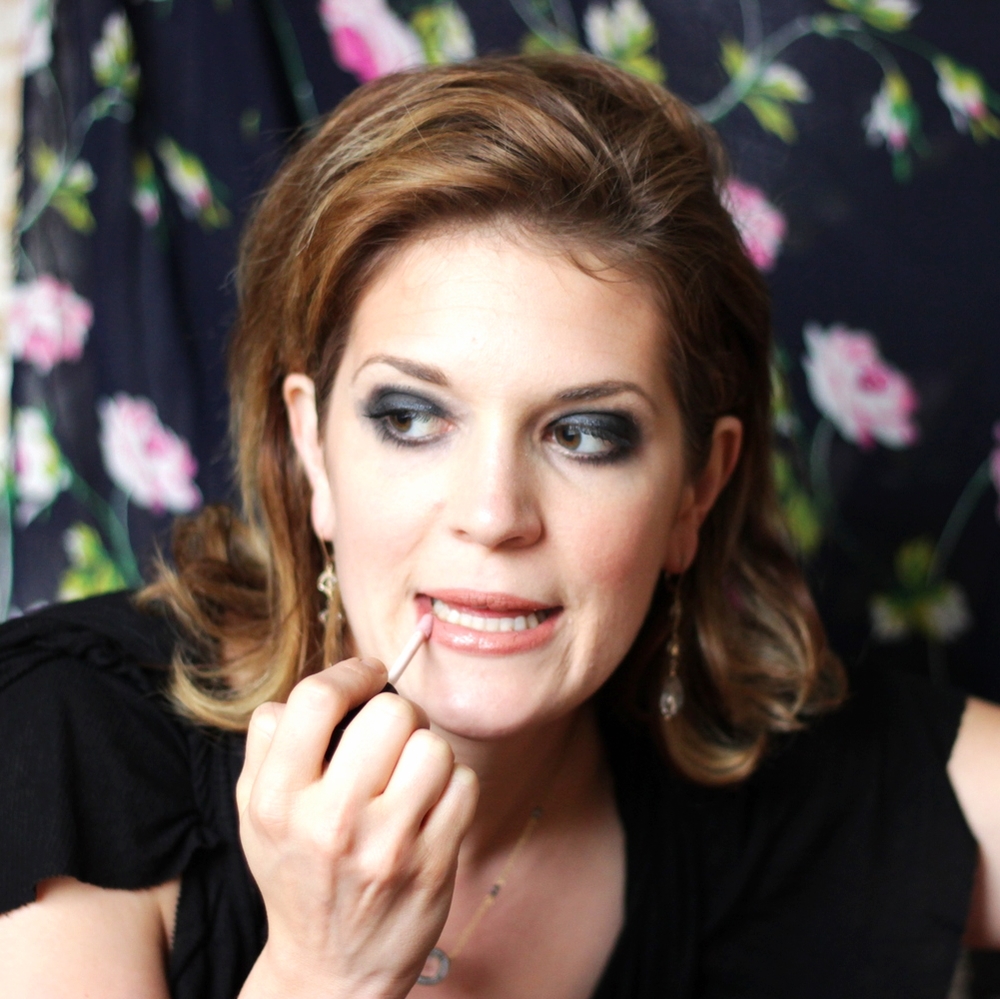
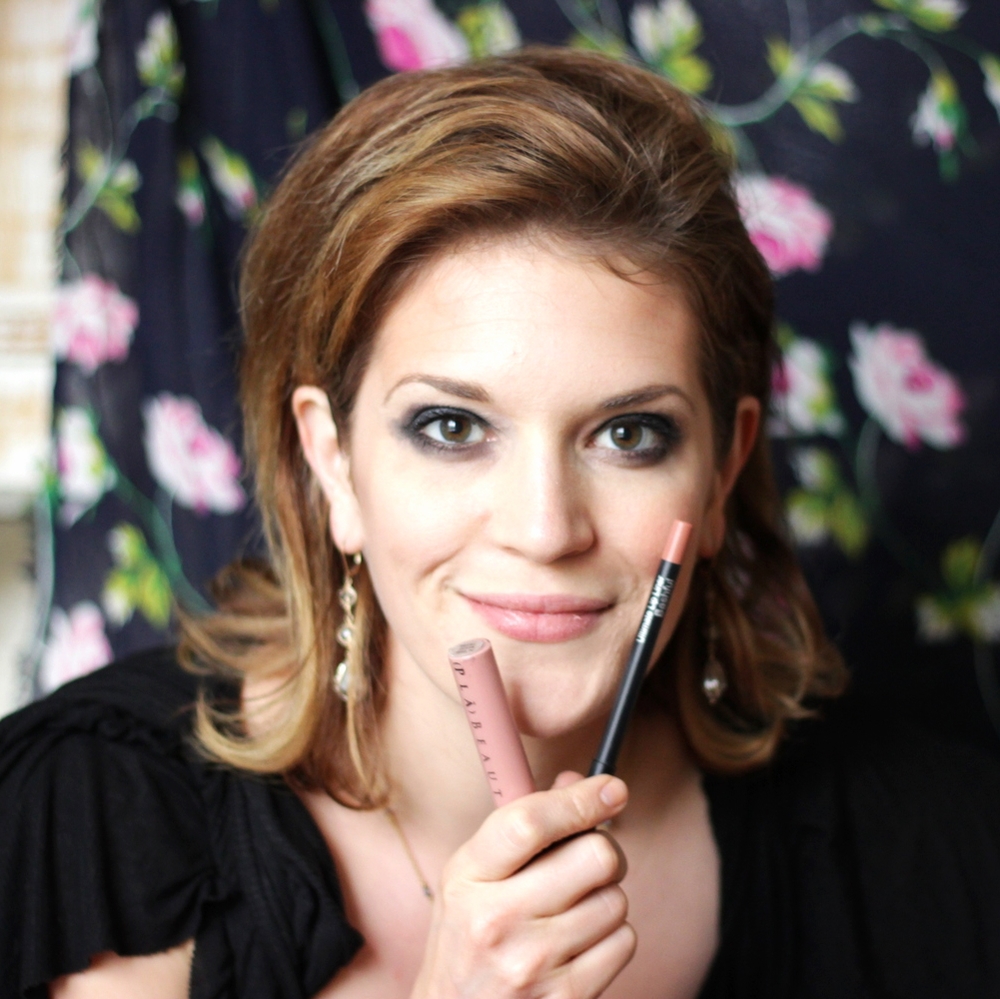
Step 5: KEEP YOUR LIPS LIGHT
Unless you are going for the Jean Harlow look – which is beautiful – it’s a general rule of thumb to keep your lips in the light pink or nude palette when wearing a very dark eye color. I often break this rule but if you’re new to the smoky eye, I think this is best so that you don’t feel like a clown. I recommend a nude pencil and gloss or a light pink lip crayon to give you some color but not too much.
Step 6: CLEAN UP
Use some translucent or baby powder on a powder brush to wipe away the excess powder that might’ve fallen onto your face and under your eyes.
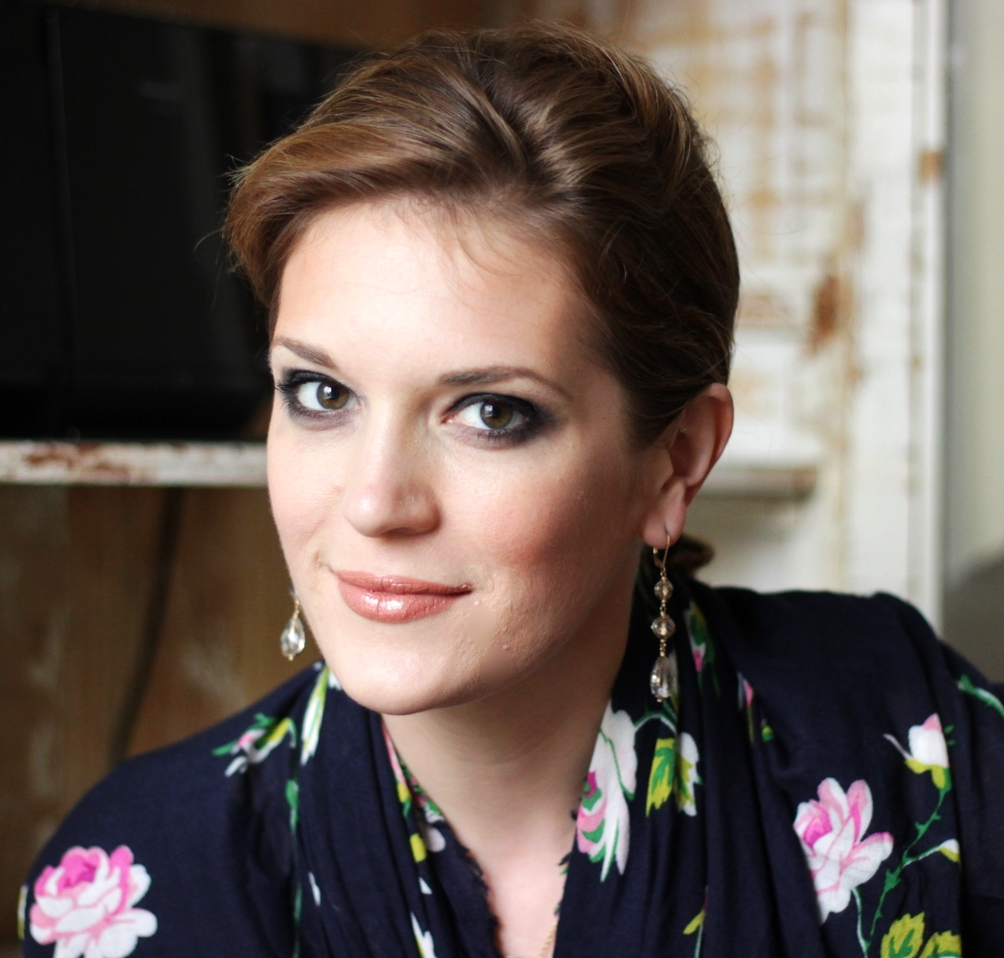
So, what do you think? Are these steps simple enough to make your own smoky eye? Let me know in the comments or send me your own trials via email to [email protected]!
XOXO,
Belle